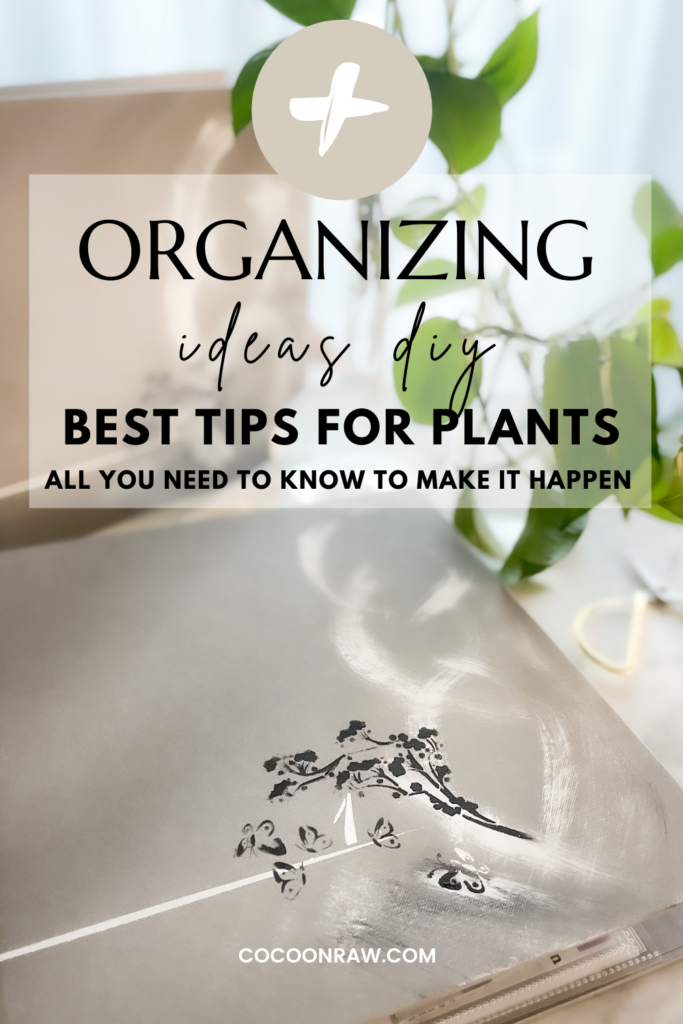
ORGANIZING IDEAS DIY | Plant tag hacks!
The organizing ideas diy that you won’t regret! Do you ever regret getting rid of a plant tag and later on you can’t remember the details of the specific plant? This can happen with both indoor or outdoor plants.
I have a great organizing ideas diy for you plant tags. This post will show you how to organize plant information to use throughout the seasons; Why to start using this organizing method, organization inspiration with reasons to keep nursery plant tags you have not thought about, information provided that is so useful, organizing type options and step by step tutorial for organizing your plant tags.
Links in this article are affiliate links and if you click on them, we will receive a small commission at no additional cost to you! Clicking and purchasing help to support this blog and all of the home and garden post we bring to you! Click here for full disclosure
ORGANIZATION INSPIRATION FOR PLANT TAGS
The storage hacks will not only look great but even better, the information will be at your fingertips! This method will hopefully give you organization inspiration that will surprise you. It will make it so easy to go back and understand when you have an issue or question without having to search all over the internet.
Okay, I have a confession, my mother got me started with this. She would keep all the tags in a notebook. I thought it was genius!
So handy more times than I can count!
REASONS TO KEEP YOUR NURSERY PLANT TAGS YOU HAVE NOT THOUGHT ABOUT
So many times in the past, I have a plant I need to understand better in order to prepare it for the new season. then I can’t find the type of plant I have or how long I have had it, which many times impact blooming or how you treat your plant.
Organizing ideas for your plant tags comes in handy, always!
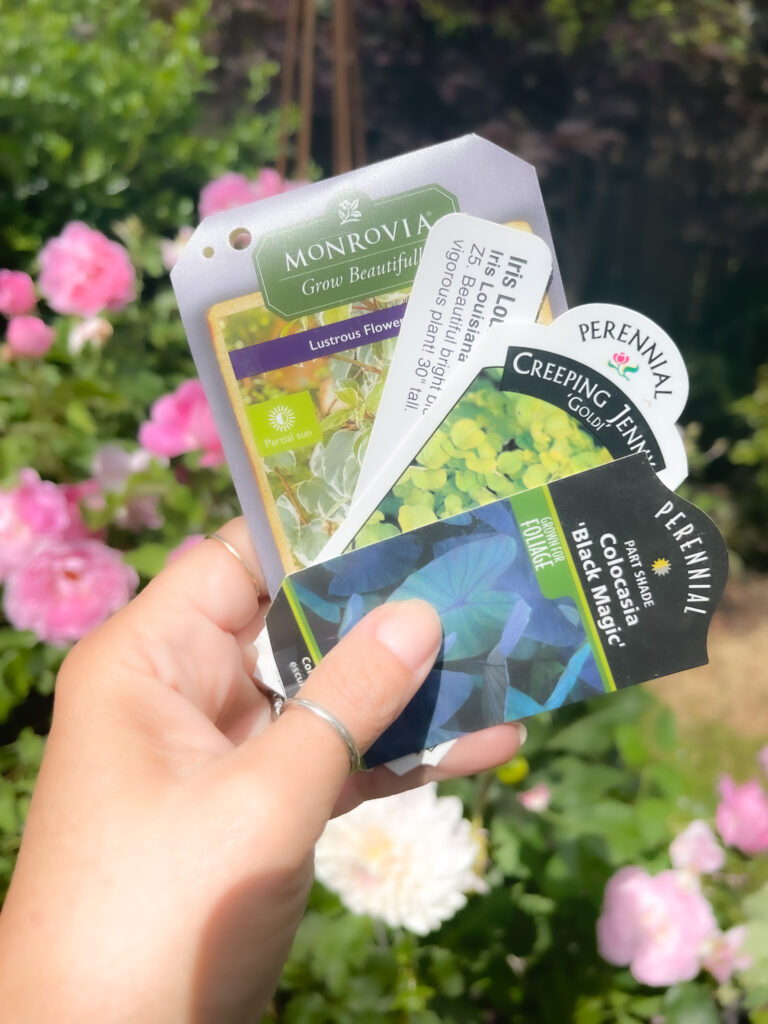
PLANT TAG INFORMATION YOU NEED WHEN GARDENING.
Here are some of the things you will gain knowledge on when you have the correct name and organize the plant information:
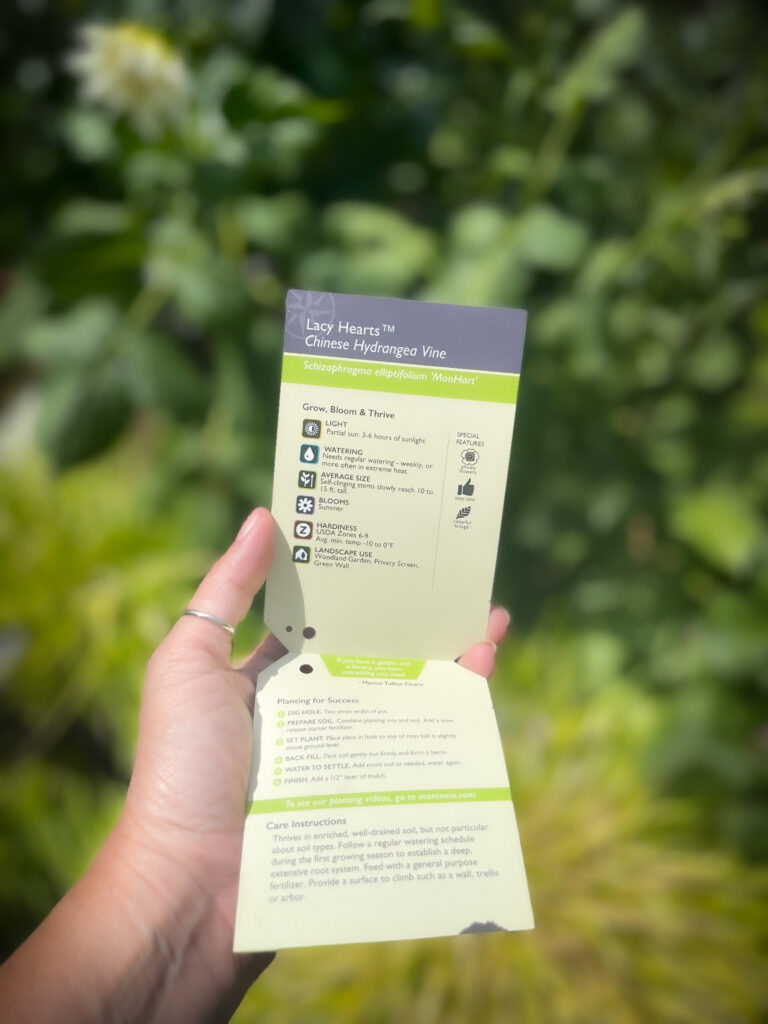
- HARDINESS; Shows the zone for best outcome when growing the plant. Understand what to do at each Season to Prepare, whether to cut it down or leave as it is.
- Shows the Zone that it is suited for and the minimum temperature it can withstand.
- FERTILIZER; Knowing plant details will help researching the best type of specific fertilizer to use.
- LIGHT; Look at the tag to quickly understand the need of it for Sun or Shade.
- BLOOMS; Season that the plant will bloom will help decided how to cluster your plants to have color throughout the seasons.
- LANDSCAPE USE; Will specify the best use for the plant.
- SCIENTIFIC NAME; Learn more about other colors or varieties of the same plant by having the scientific name. Sometimes Plants are taken out of the market and you may be able to find it through another gardener if you have the name and information.
With the information available, you will be ready to treat your soil or trim your plants when preparing for the Spring Season. Have you read my blog post on ’10+ FAVORITE Gardening Tools for a Better Experience’.
LIGHTING IS THE MOST CRITICAL IN THE WORLD OF GARDENING.
The light level that is required for a particular plant are indicated on plant tags. The way it is shown can vary; the plant tags may show full sun, part sun, and shade symbols.
- Full sun – Understand that you must consider this to be accounted for the warmest time of the day. This is at least accounting for 6 hours on full sun.
- Part sun – This is cutting the hours in half to 3 hours.
- Full shade – Note that full shade means ‘full shade’ on plant tags. I have tried to get away with more sun, but trust me, it does not fly. The plants are more delicate, for example; ferns or some types of hydrangea.
What a difference it makes to have the correct information! Have you read my post ‘Dream Garden Summer Walkthrough 2021”?

OPTIONS WHEN ORGANIZING YOUR PLANT TAGS
- FLOWERING PLANTS: Flowering only plant tags.
- EVERGREEN PLANTS: Evergreen only plant tags.
- PER SEASON: Divide tags per Season.
- PER AREA IN YOUR GARDEN: Divide plant tags per Area of your layout. I have names for my garden; Secret Garden Area, Pond Area and Entry Area.
- SIZE: You can also do a binder for each area, depending on the size of your garden.
- LIGHTING REQUIREMENTS: Organize plant information by sun or shade requirement.
- DAY PURCHASED: Organize per year.
- INDOOR OR OUTDOOR PLANTS: You could organize your indoor plants, like air plants indoors or outdoor air plants.
On my DIY Garden Ideas For Small Spaces | 5 GARDENING LESSONS!, I provide you with my top 5 DIY’s that will help you with the garden.
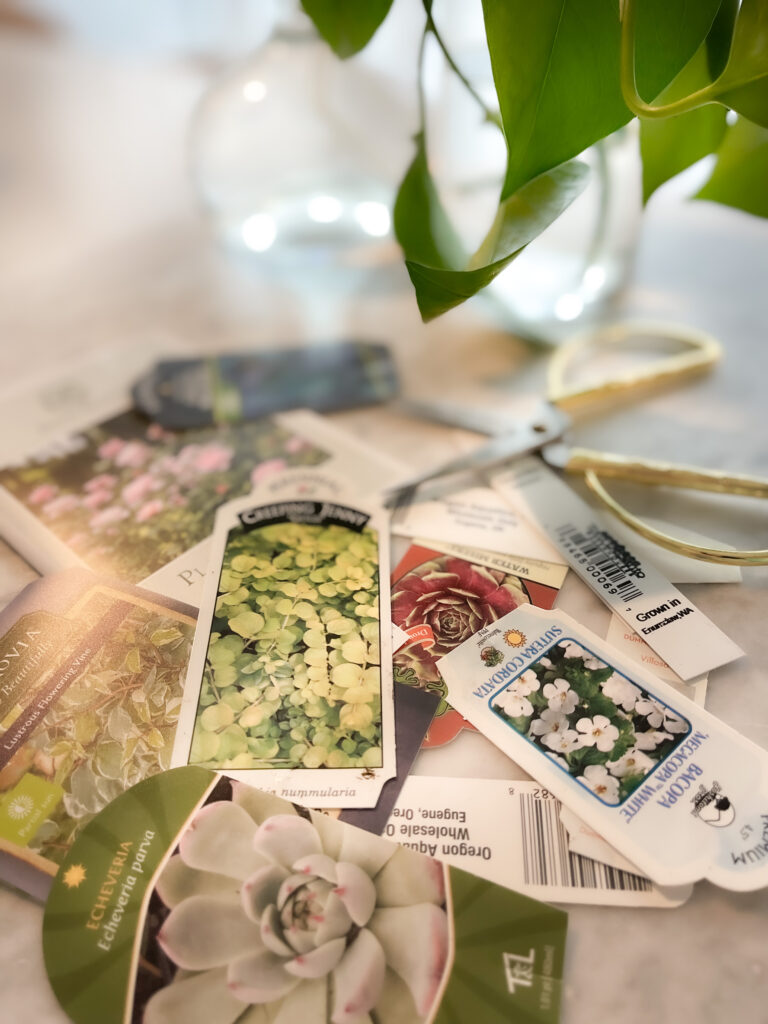
Use the internet to print your plant photo if it is not on the tag. Having a photo is so helpful to quickly find what you are looking for.
I love to research all I can about different plants, like air plants.
Have you seen my decorating with air plants video? Check out the video below!
If you want to learn everything about these fascinating plants and why it is important to know the type, take a look at my post, ’10+ AIR PLANT CARE TIPS YOU NEED TO KNOW ABOUT‘
STEPS TO ORGANIZING PLANT TAGS
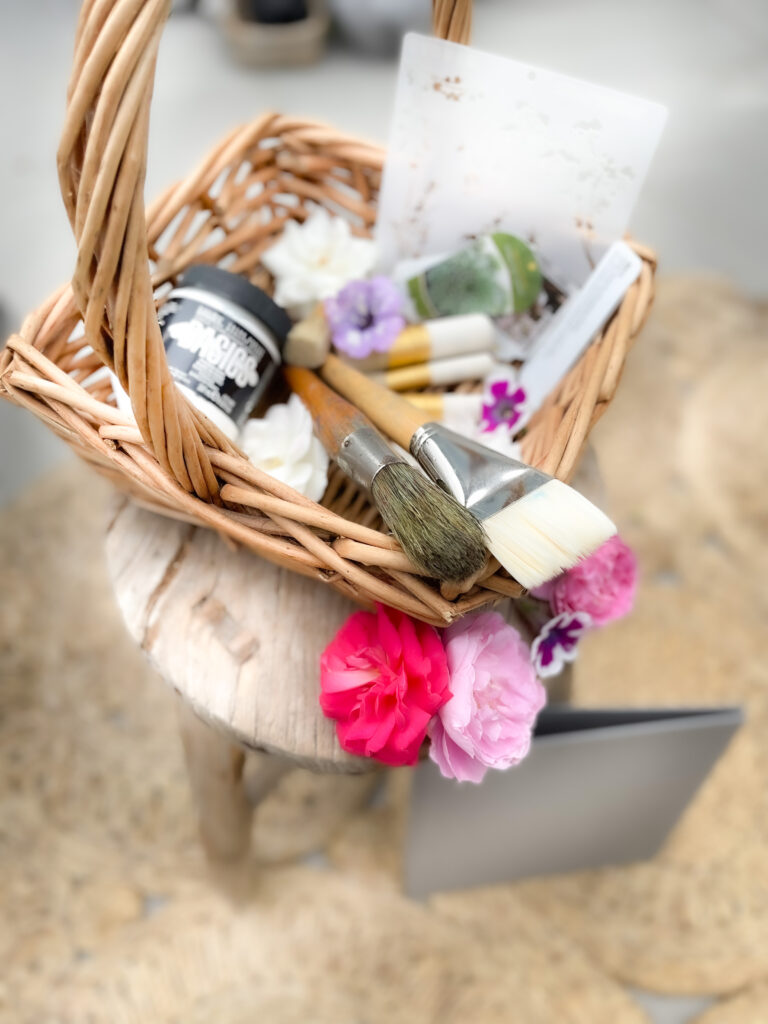
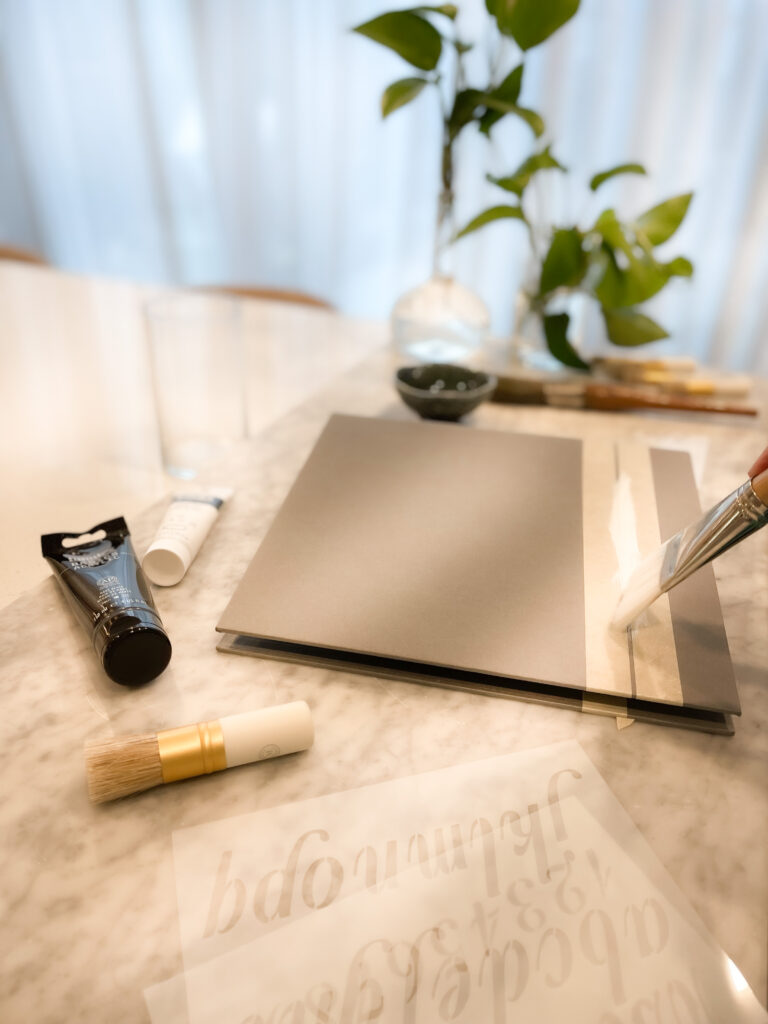
1. Gather your Materials
- Paint Tape
- Brushes
- Acrylic Paints (white and black)
- Stencil
- Birch Tape
- Glue or Hot Glue Gun
- Decorative Tape
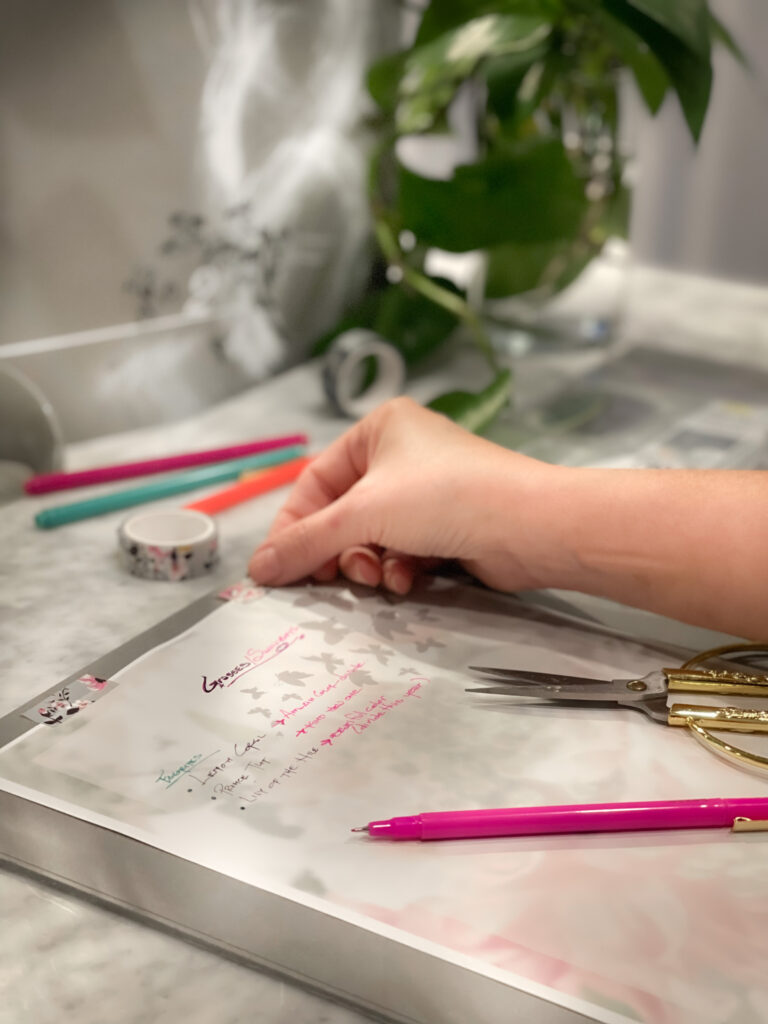
- Sheet for Notes
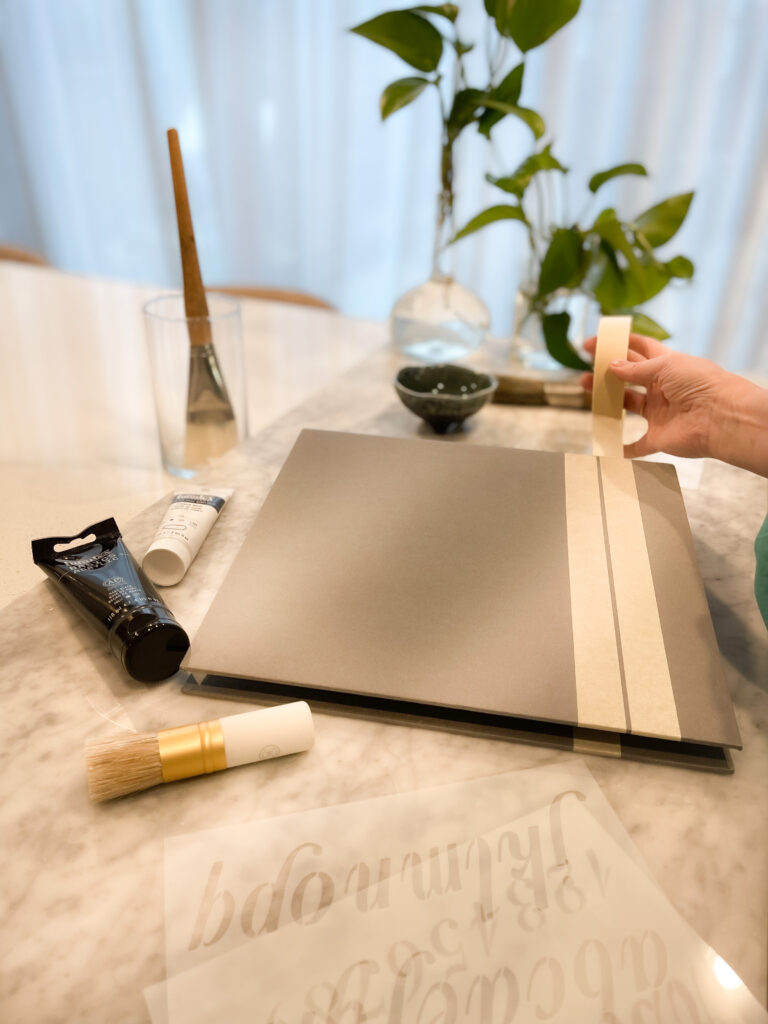
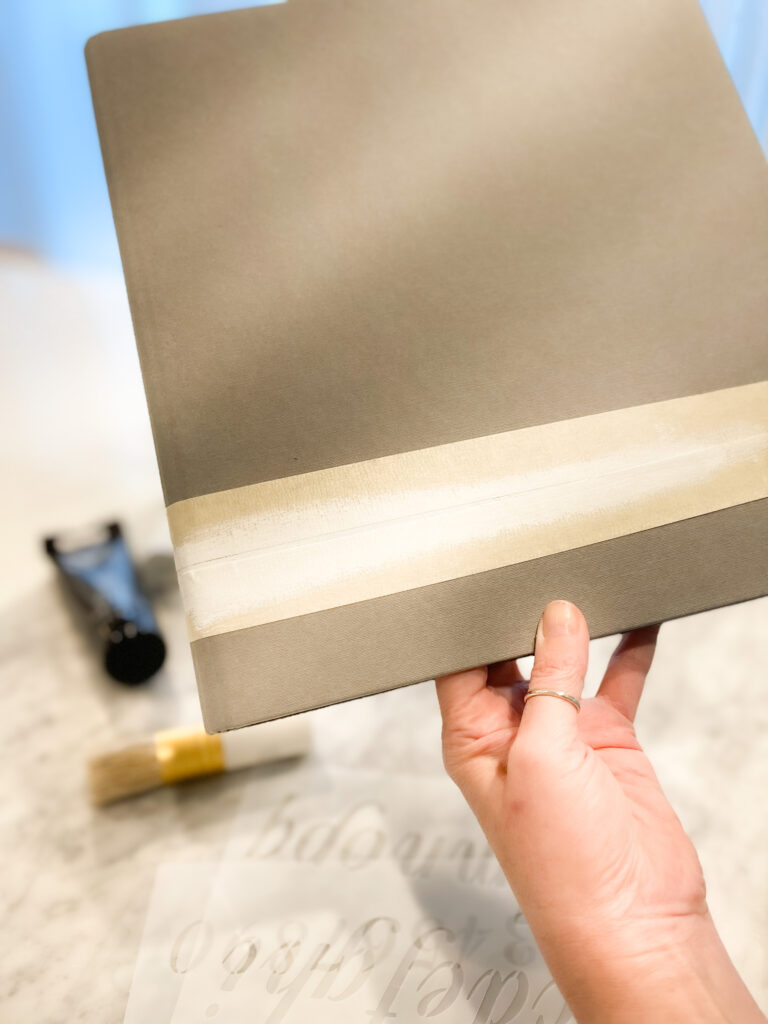
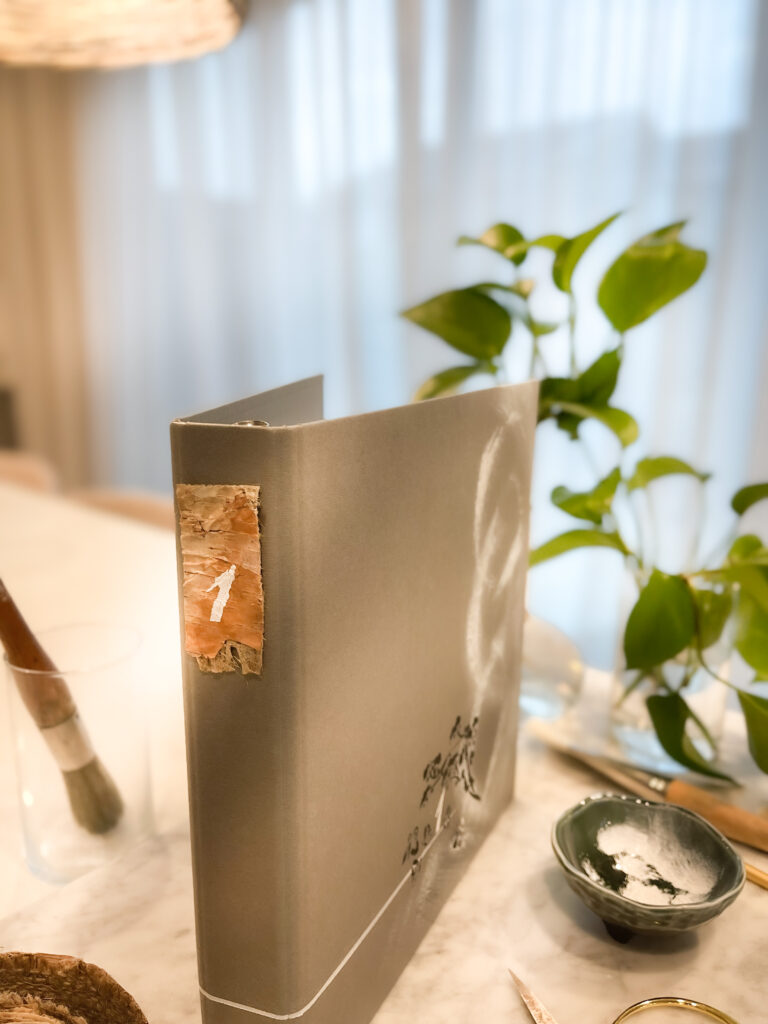
2. Line on the Front and Back
Decide where you would like the line to be at.
Tape to create line.
I wanted the line to disappear on the front.
For tape, add top and bottom tape to create line and joint on the front to provide the visual effect.
IMPORTANT TIP: Blot your tape a lot, otherwise it will rip the binder finish. This will get rid of some of the glue on the tape and not adhere too much. When removing, do each tape independently and go very slow.


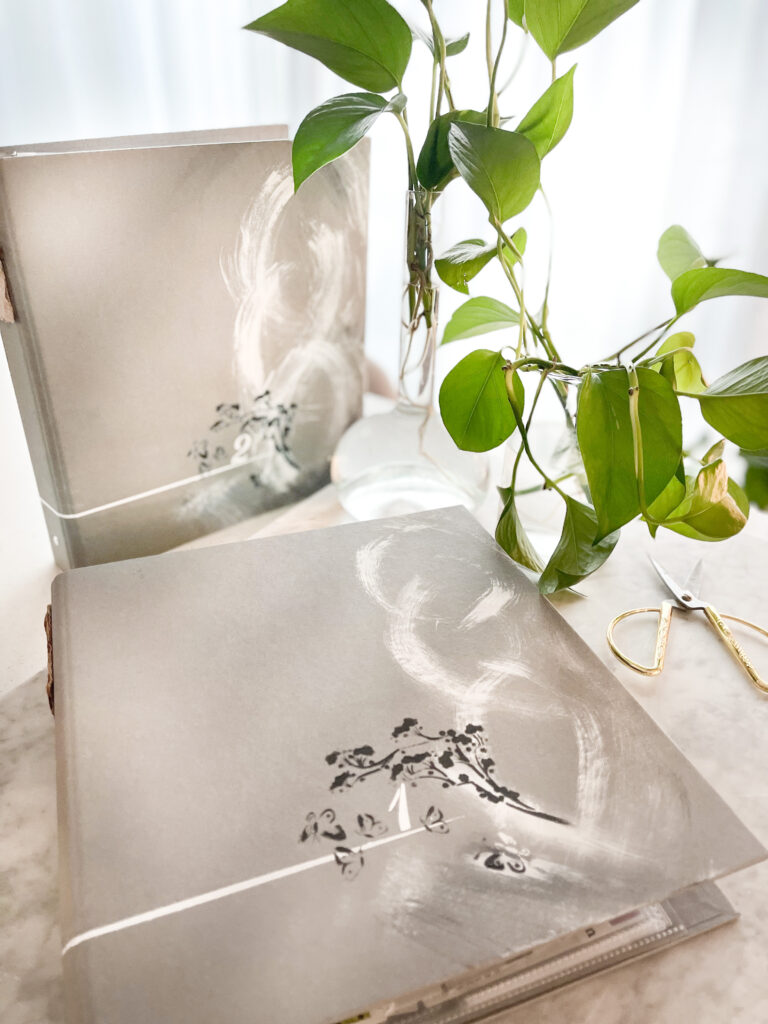
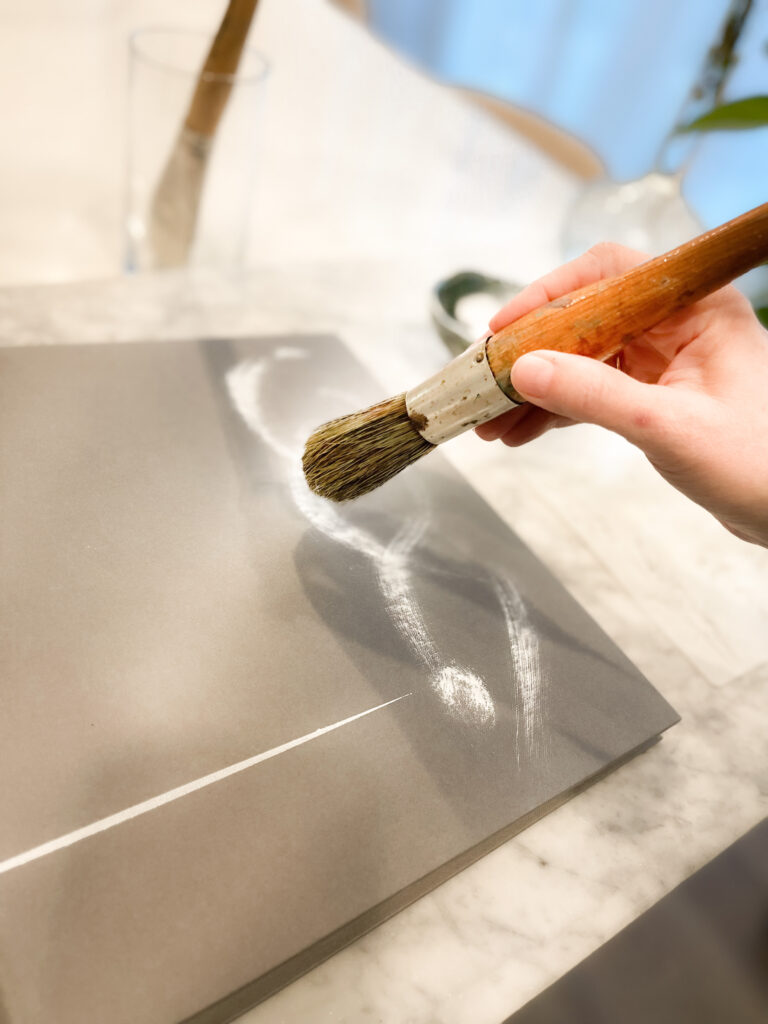
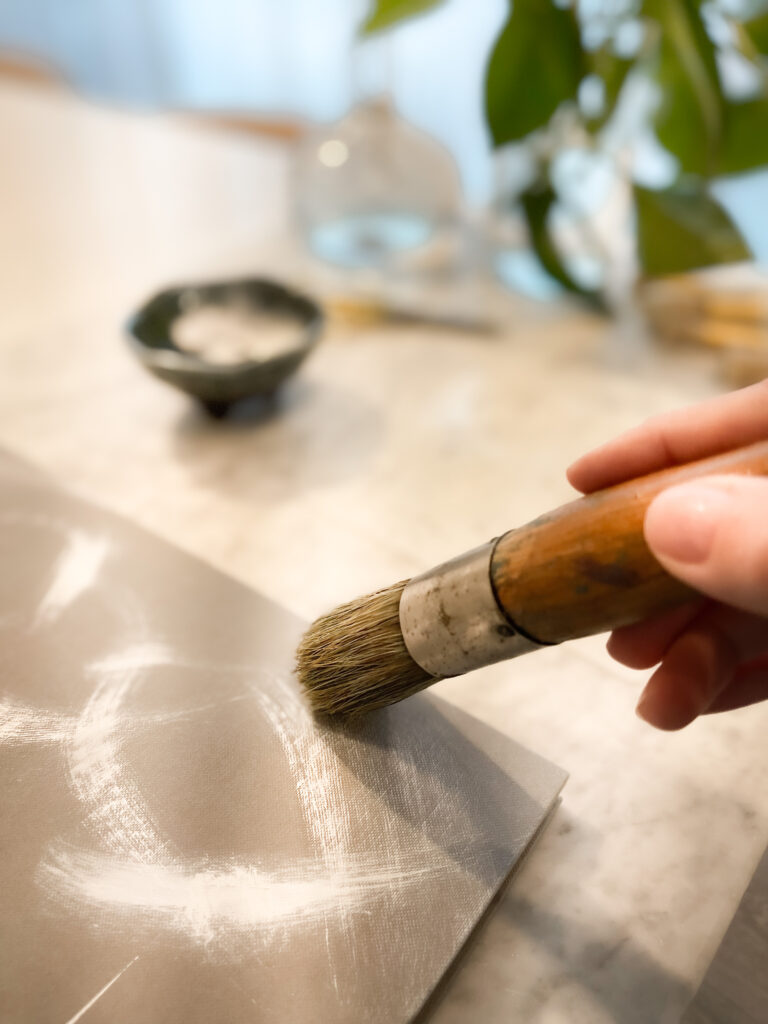
3. Freehand a soft Shape on the front of the Binder
Use dry brush method to make a shape you like.
Place you paint on the brush by dabbing the brush and the blot on a paper napkin.
Brush softly the shapes, freestyle for a softer look.
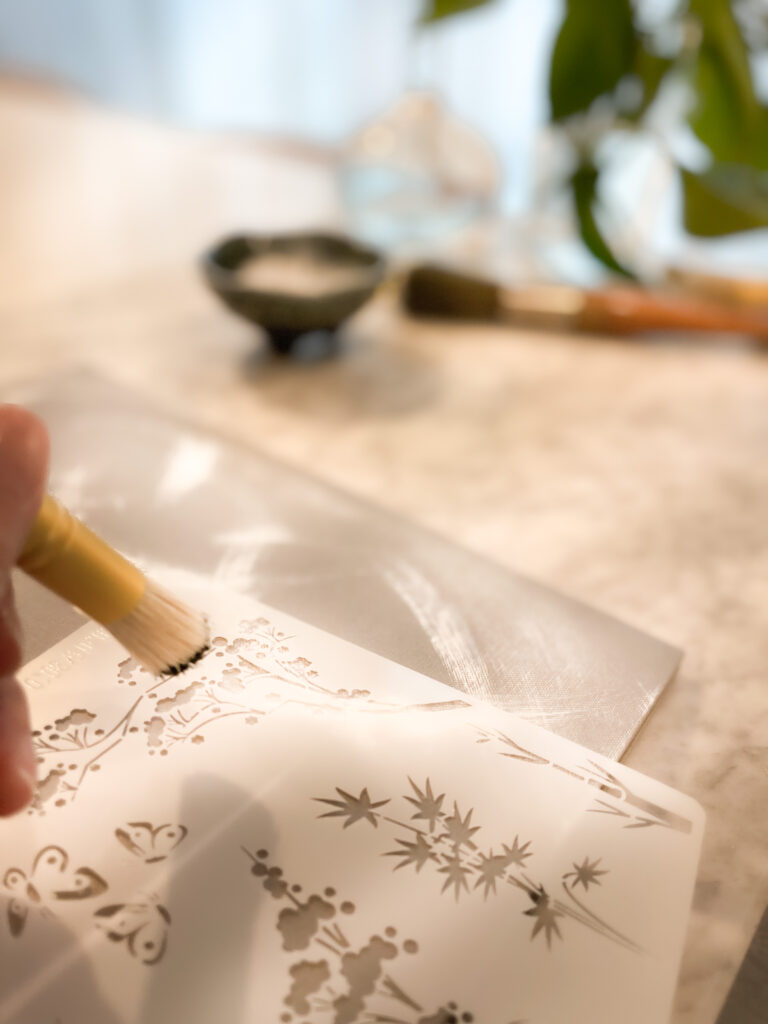
4. Apply Stencil Design
Select your stencil and place the flowers or branch to match the shape of the soft shapes you created.
Use black paint to add dimension the the look.
Add black paint to stencil of butterfly or what you like to add as a detail that has some movement visually.
Using a black pen, add the final details to the butterflies, like the little antenas.
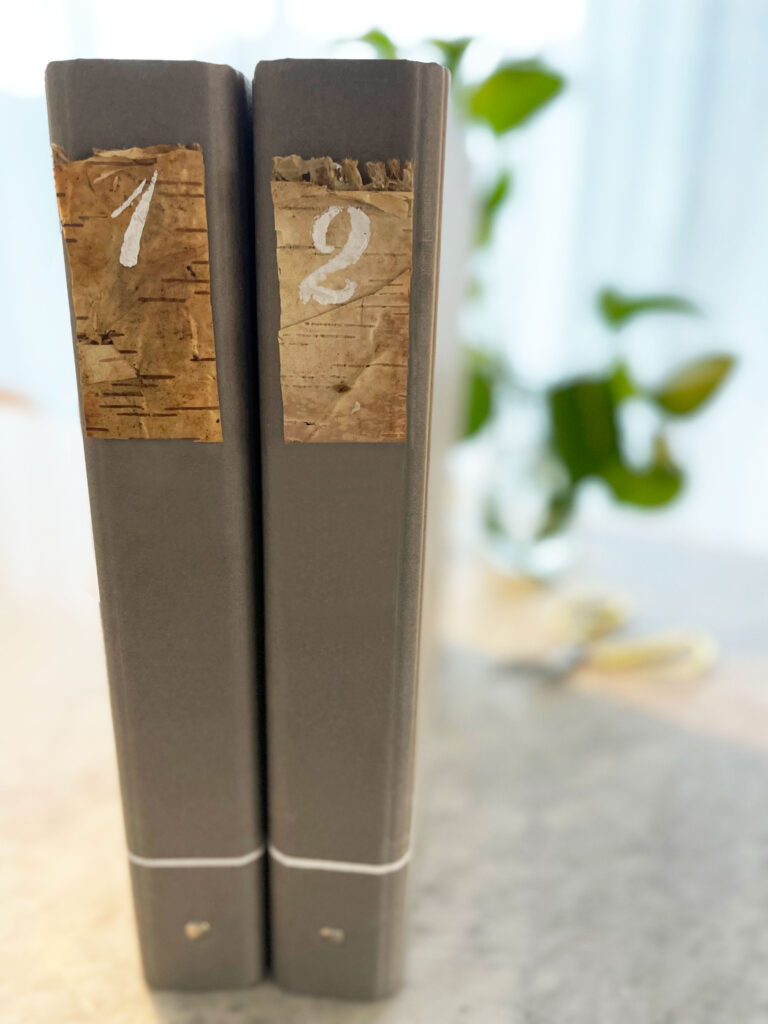
To finish the front, add the number or description you would like to have as reference between the butterflies.
Keep in mind that you should clean the back of the stencil very well after each use.

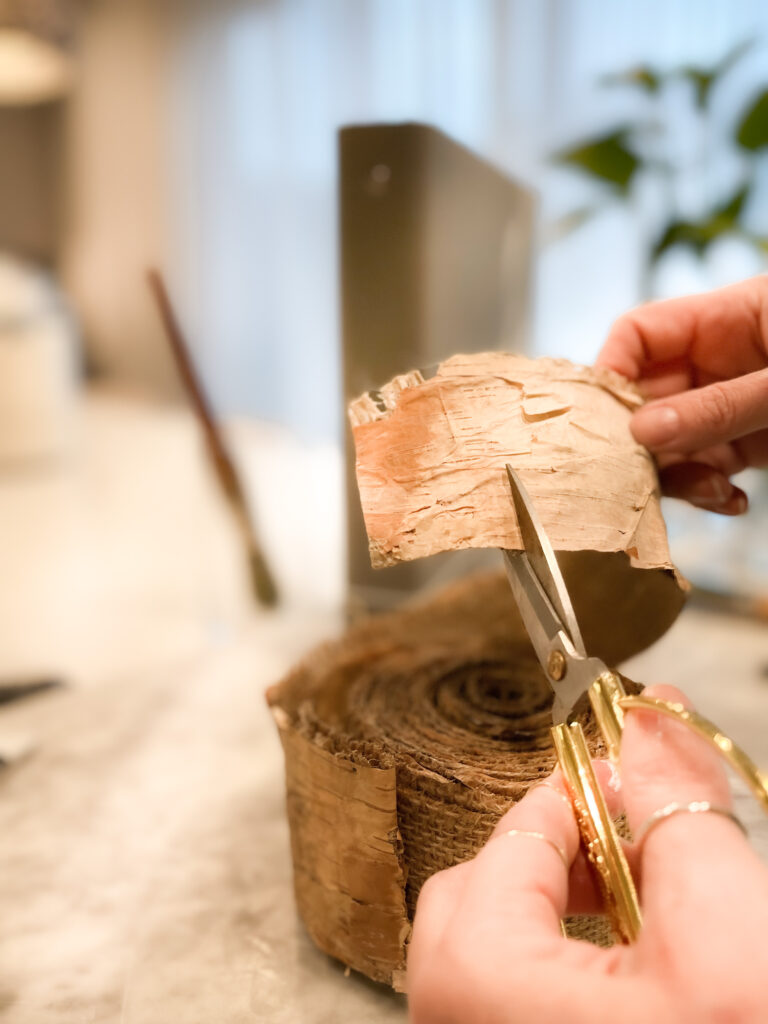
5. Add Birch Wood Tape as a Tag.
Cut the birch wood tape to the dimension you want to have for your number.
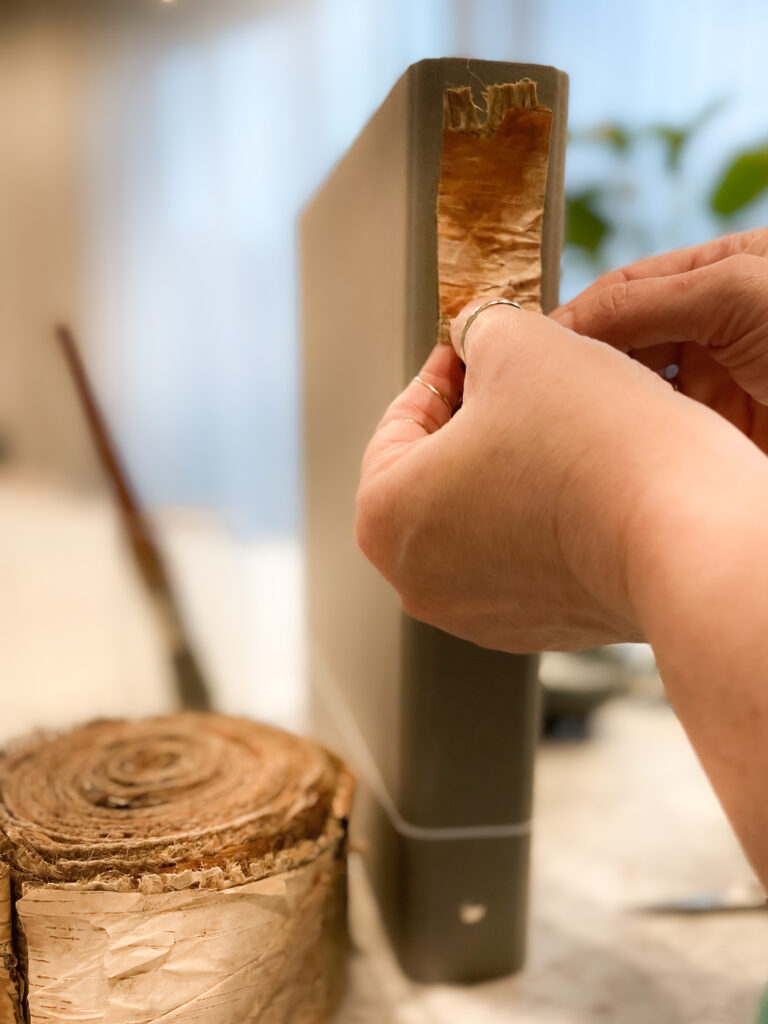
Stencil the number.
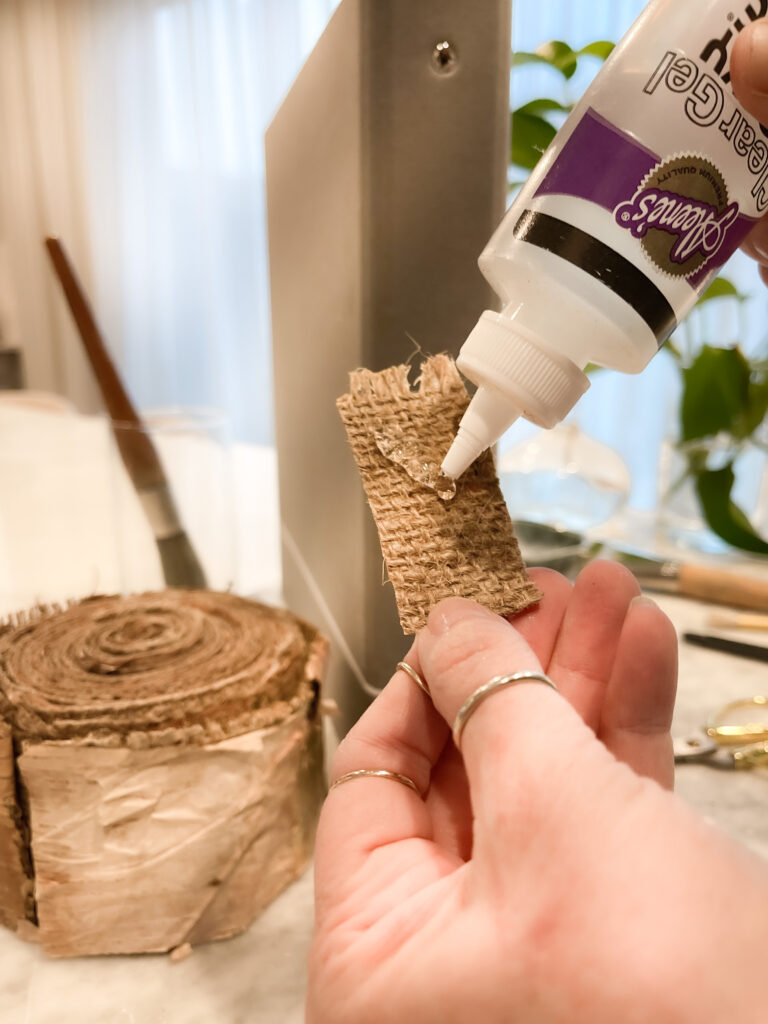
Glue the piece to the binder.
You may need to glue the birch wood layer to the burlap of the ribbon after you place it on the binder to make sure it stays in place.

6. Organize Plant Tags into the sleeves.
I like to use photo and business card plastic sleeves to organize my tags.
My tags are organized on two binder;
- Green leafy plants / Herbs
- Flowers / Dahlias

Use a method that it is easy for you to access the tags when you need the information. I find that I tend to use them a lot in the spring when I am preparing the beds and cleaning and in the fall to check what I may need to protect for the winter.
They have been so helpful and the best thing I have done is keeping them. I add a sheet in the cover with decorative tape and to write a log of what I need to do the next season to prepare for some of the plants. For example, if I need to divide a plant or I want to buy another or fertilize.
You want to learn how to grow your own plants?
Check out ‘BEST SEED STARTING STATION DIY | SEED STARTING’.
I am known for asking a garden center for a tag I may need and am missing sometimes. They are nice enough to provide you with them.
SHOP BELOW TO MAKE YOUR OWN PLANT TAG ORGANIZER BINDER!

PLANT SCHEDULE INFORMATION FOR MORE ORGANISING IDEAS.
Talk about organization, I have a great way to keep up with the progress of my plants and which are my favorite.
Create a Schedule that provides details of my dahlia garden. I don’t have tags since they don’t come when shipped, but the schedule is a great way to go back and add comments.
You can do this for zinnias, seeds and other plants! I apply this method to my dahlia collection.
Love going back and seeing the best companies to purchase from.
Here are some things I include:
- Photo
- Type of plant
- Name of plant
- Company Purchased From
- Details or Notes
- Date purchased
Each company is so different in what they provide, so keeping a log of how it went after the growing season will give you a great opportunity to know where to purchase from next time.
Your Cocoon Awaits You,
Stay Creative!
Don’t leave yet!
Come visit for more gardening diy’s.
PAINTED ROCK GARDEN MARKERS: ADD SOME PERSONALITY TO YOUR GARDEN!
Easy DIY Plant Markers: How to Label What You Grow with Your Cricut
How To Make The Most Adorable Plant Labels From Mason Jar Lids


Melba, this is so beautiful! I am not a gardener, nor do I have a green thumb. I thought once we moved that I would be able to “branch” out and learn a few things about it but I am in unchartered territory here with the sand and the deer who apparently eat EVERYTHING! Love this idea though for organization and think I will use it for other things I need to save. Have a wonderful week. I am so very sorry about the break-in. Stay safe friend.
Thank you Elizabeth! I am so happy you found it useful, maybe you can use it for indoor plants. If you ever have questions on gardening, I am available. I am lucky that I don’t deal with dears in my little garden, all I have to deal with is slugs and cabbage butterflies. LOL! We are very happy we are safe and fortunate. Have an amazing week!!!
This is such a great idea for organizing information about garden plants.
Thank you so much Paula! A wealth of information on those little tags.
Melba! I love this idea. I just shove my tags in a drawer; this would be so much better. Thanks for sharing and thanks to your mom too;)
Thank you Marie! I kept loosing mine and now I can’t take all of them with me around the garden. I hope it works out great for you.
What a wonderful idea for plant organization! I need this and will definitely use your ideas this spring. Thank you for sharing. Pinned!
Thank you Lynne! Enjoy your tags, they are gold!
Love this idea and its so cute. I saved it to my pinterest garden board
Thank you so much Brooke! So happy you loved it!
This is such a great idea! I’m always losing my plant tags, I don’t know I haven’t made something like this sooner!
Thanks Jayne! I honestly had my tags for a couple of years and just got tired of searching for what I needed. You will love how handy it is! Enjoy!
I love this idea! Your binders look amazing!
Thank you so much Marieza!
This is a beautiful post, with great inspiration and ideas. It is so easy to forget the names of plants and other information, so this is a great way to keep it all organized!
Thanks
Thanks Karen! It is such a handy binder, is probably one of my top garden tools.
Everything is so beautiful here!
It is such a clever way to get organised and I love the binder. I can just imagine how lovely your garden must be.
Thank you so much Amanda! My little garden is very special to me, so any help I can give it means a lot.
This is a genius idea! I always looks track of my plant tags, maybe this year I won’t. Thanks, Melba!
thank you Stacey! Same with me, I am loving it!
Oh Melba, I love this book. I have been wanting to make a journal to hold my plant tags and notes. I am definitely going to make one of these books for myself to keep track of plants that in the yard. What works and what does not work.
Great Tammy! So happy you can use it! I use it so much for preparing for the seasons, the best guide book for me.
What great information you have shared with all of us. Thank you so much, Melba. Loved how you made the binders.
Thank you Kim! You should have seen me last year trying to find plant tags. LOL! Not anymore, this has really been so helpful.