
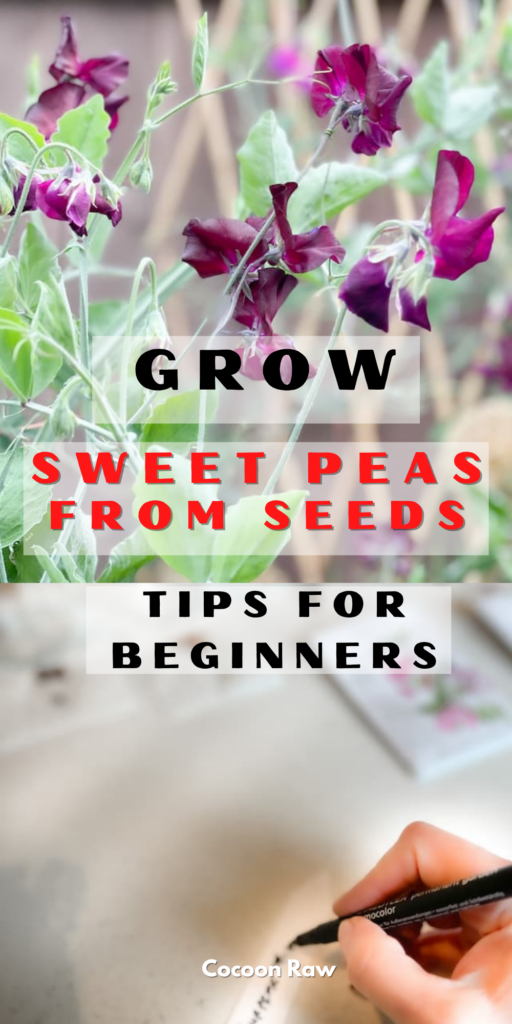
GROWING SWEET PEAS FROM SEED | MUST KNOW TIPS!
Find what to do when growing sweet peas from seed. Start 4-6 weeks before the last day of frost, scarify the hard surface of the seed, soak the seed for 24 hours, plant the seed indoors on a root trainer at the correct depth depending on the size of the seed, and use good quality soil since they do not like repotting.
Soil must reach around 68 degrees to germinate. Seeds need warmth, good soil, moisture and drainage to succeed.
Links in this article are affiliate links and if you click on them, we will receive a small commission at no additional cost to you! Clicking and purchasing help to support this blog and all of the home and garden post we bring to you! Click here for full disclosure
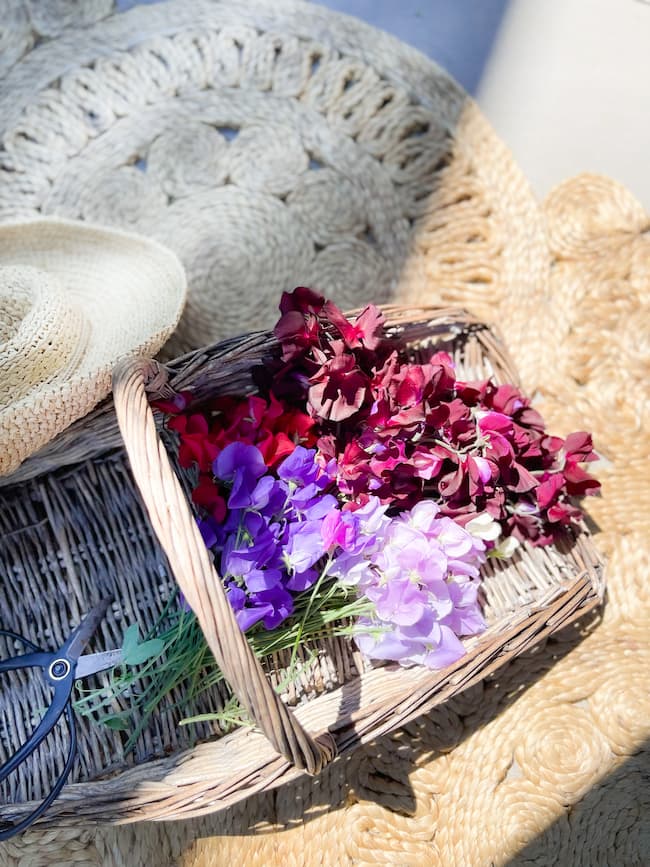
I will never forget my first experience with Sweet Peas! Dahlias are my obsession, but they do not bloom until late summer in the PNW. I was in search of that Spring flower that stood out in the garden and discovered sweet peas. They are such amazing vines and like no other flower. The delicate-looking flowers, the scent of some of them, and the variation in colors are amazing. The long stems make them just perfect for flower arranging. You have to try and grow some, you will quickly become a fan!
HOW TO GROW SWEET PEAS FROM SEED?
You have two options, start indoors before spring or start directly outdoors. Let’s explore each option!
Growing Sweet Peas from Seed Indoors
The main reason to grow sweet peas indoors will be if you live in a cold climate and want to get a head start. I have always started seeds indoors and added some outdoors when I plant them to have succession planting and some of my sweet peas lasted well into fall. This will be a strategy I will be applying this year again.
Growing Sweet Peas from Seed Outdoors
If you are lucky enough to be in a warmer climate, as soon as your soil reaches 55 to 65 degrees, you can sow your seeds. Make sure your soil is what you are measuring the temperature of and not the weather.

HOW LONG DOES IT TAKE TO GROW SWEET PEAS FROM SEED?
Here is the big secret to shortening the amount of time you have to wait for the seed to germinate! All seeds have germination inhibitors, which is the hard shell that keeps them from sprouting. Imagine a potato and a thin membrane. Don’t you hate when they just sprout after a few days? Seeds germination inhibitors will prevent this from happening.
Because of this inhibitor, we can do something to speed up the process:
- Scarify – Scratch the outer shell by rubbing the seed on sandpaper or nick with a knife. This process will allow water to penetrate much faster.
- Soak – After the scarify is completed, place water in a small container and drop the seeds. Let them soak for 24 hours, not longer. Note that some seeds need warm, not hot water. Check your seeds to confirm.
This process cuts a few days for me and I can see germination within 3 days instead of 5 -7 days. A game changer for me!
WHAT SWEET PEAS AM I GROWING?
It is always extremely important to check the data of the seed type you are growing. Some seeds require stratification, so study each very carefully. If they required stratification, place the seeds between a moist paper towel and in a zip-loc bag. Then place the bag in the refrigerator vegetable drawer, NOT THE FREEZER!
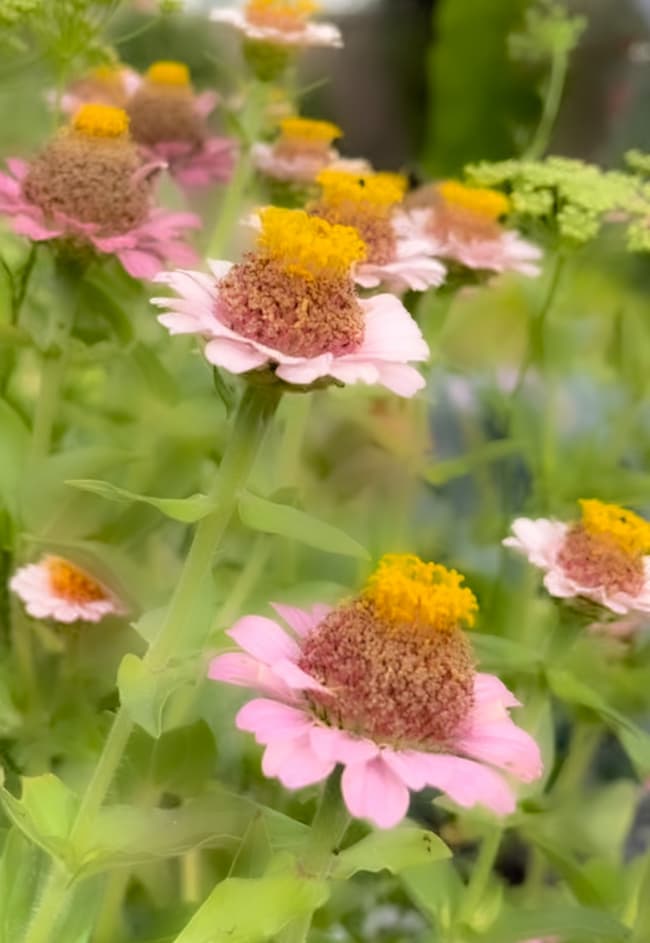
Do you want to learn how to attract pollinators in your garden? Read my post ’12 REASONS I AM GROWING ZINNIAS. MORE THAN EVER!’
Sweet Peas I am growing this year:
- Mars
- Incense Peach Shades
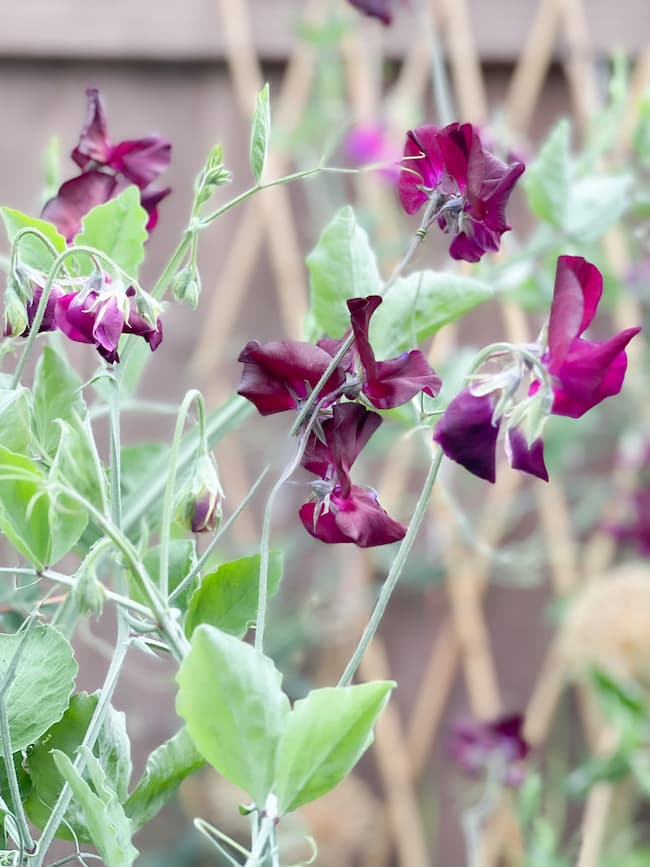
- Beaujolais
- High Scent
- Lord Nelson
- Timeless
- Navy Blue Passion
- King Tut
I am so excited to grow for the first time the blue color sweet peas; Navy Blue Passion and King Tut! I will share photos on another post and my thoughts on them!
My collection is growing and I am growing some more sweet peas. Check out ‘March Gardening | SAVE MONEY & TIME!’ to see which I am adding to my garden.
MATERIALS FOR GROWING SWEET PEAS
- Sweet Peas
- Sand Paper or Knife
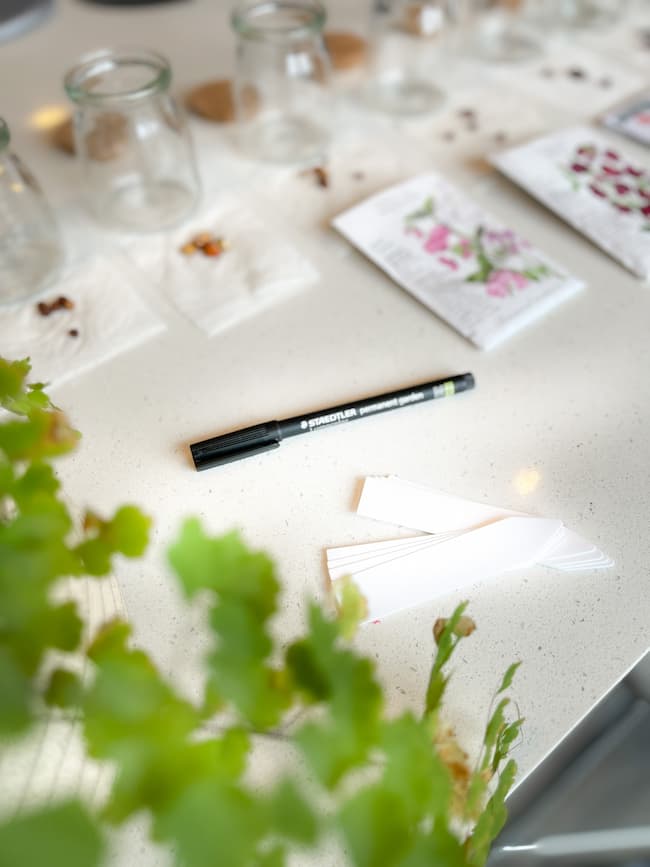
- Small Jars
- Water
- Labels
- Permanent Garden Pen
- Organic Soil without any chemicals or fertilizers
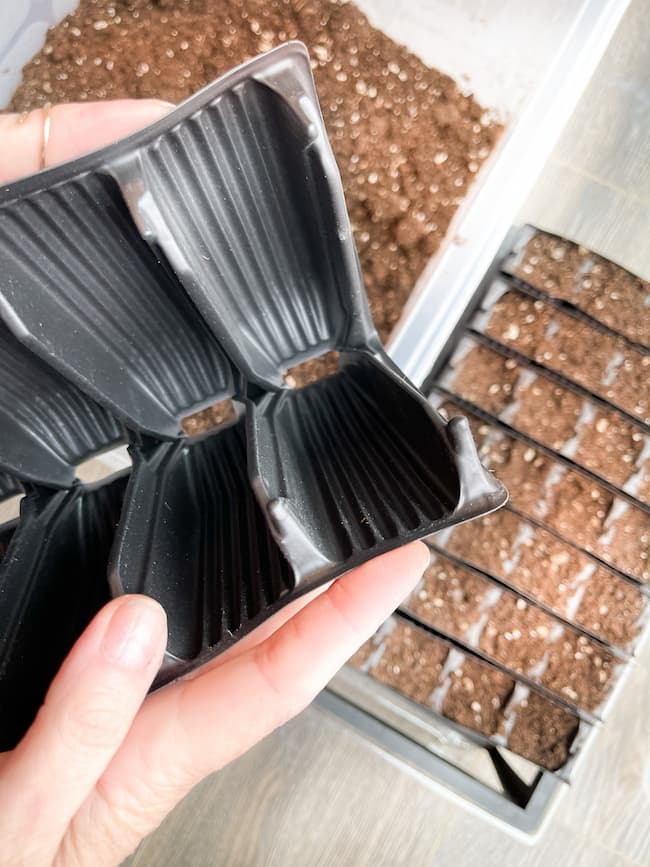
- Rootrainers with Clear Dome
- An option for rootrainers are deep pots
- Water Can
- Spray Bottle
- Thrive Fertilizer
- Natural Light or Grow Light

SHOP BELOW TO GROW GORGEOUS SWEET PEAS!


STEPS TO GROWING SWEET PEAS FROM SEEDS
A. Prepare Seeds
- Select the Sweet Peas you want to grow and get familiar to see if you need to stratify them or not the seeds. Read the package carefully or you can find so much information on your specific sweet pea on the internet.
2. Scarify by sanding or making a nick with a knife the seed’s outside shell to only expose a small part of the inside of the seed.

3. Place Seeds in small jar with water for 24 hours.

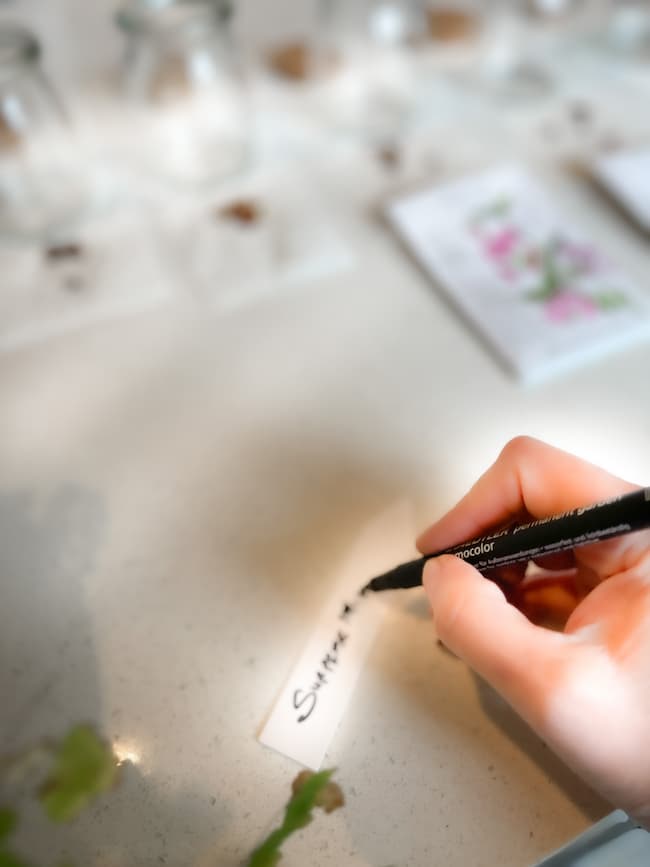
4. Add Label to each jar with garden pen. The labels can be transferred to the rootrainer cells for each seed.
B. Plant Seeds
5. Remove Seeds from water and put together your root trainer pots.
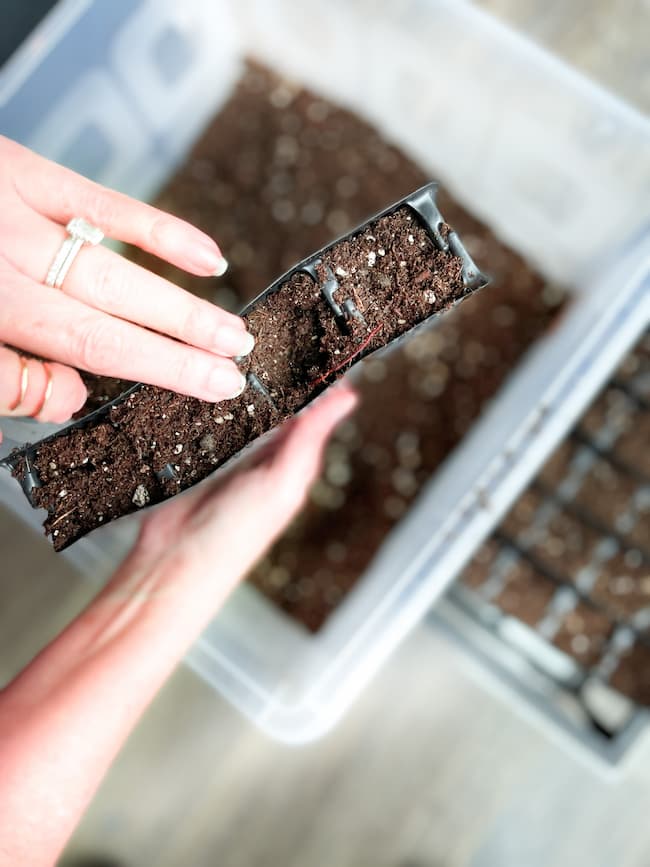
6. Add soil, good organic garden soil, to each cell of the root trainers. Pack soil well, but not super tight, it can cause the sprout to struggle to germinate. But you also do not want the soil so loose that when you water it spills out and moves the seed around or makes it go deeper.
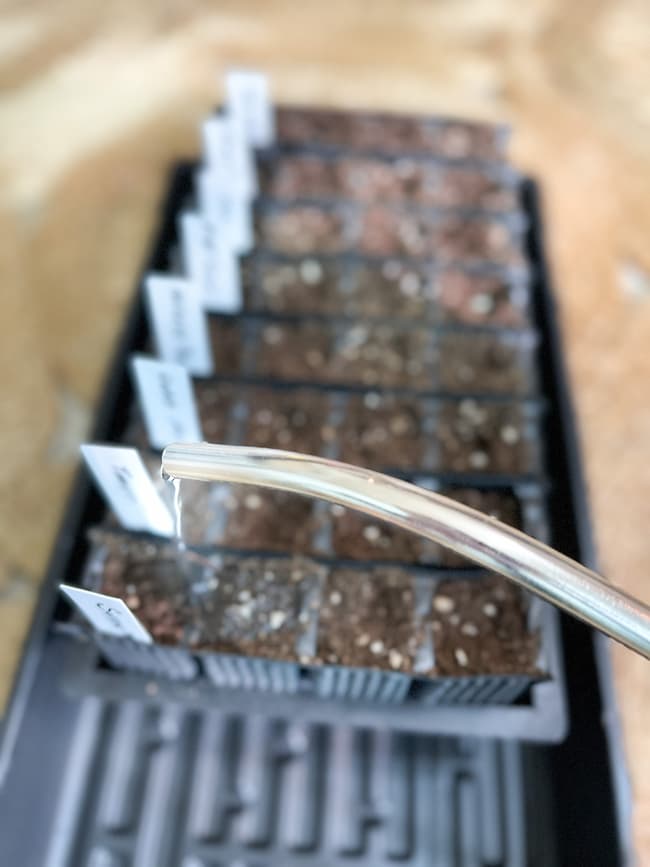
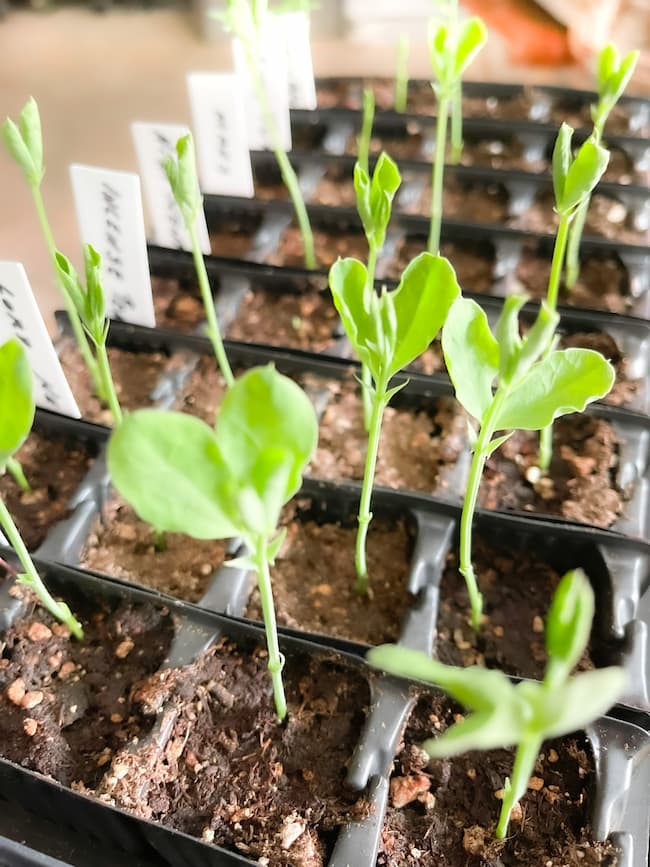
7. Place labels before you start adding seeds to each cell. I can’t begin to tell you how important it is. The worst is when you have forgotten and not have any idea after just a few minutes. I like to place each color where I have planned my garden, and track how healthy are the seeds and how fast they germinated or, any issues for future use.
Make sure you use a garden pen so the ink won’t ware off. They are so good to use in the garden!

8. Add one or two seeds to each cell. I only add one, it all depends on the condition and how old your seeds are. Germination rates will decrease as the years pass or if you keep the seeds in a very hot or humid location.
Make a hole to place the seed that is around 1″ deep and cover with soil. Some seeds may vary, so make sure you are reading about the specific seed you are working with.

9. Water the seed either with gentle water stream from a water can that has a small spout or even better, spray the soil until it is moist. Just keep the soil moist always, but NOT WET! I spray mine gently daily and this may vary depending if you are using a clear dome.
C. Place Seeds under Grow Light
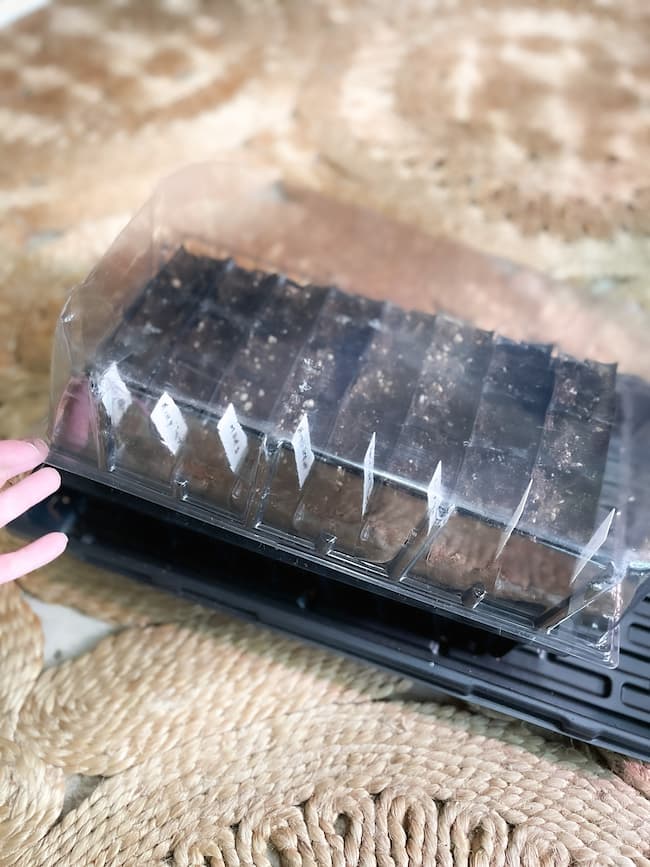
10. Add a clear dome if you have one. You don’t have to add a dome, but it will really accelerate the process if this is something you need, and you won’t have to water it so regularly. This will again accelerate the process, but do not overwater because you can get mold or gnats.
Did you check out my post that goes over the best way to avoid gnats when preparing your soil? Check out ‘BEST SEED STARTING STATION DIY | SEED STARTING’.
11. Place your tray under a grow light or by a window.
For the type of LED grow light I use on my set up, see my ‘FAVORITE GARDENING TOOLS.’ CLICK HERE!

12. Once your plant germinates, begin watering from below and remove the plastic clear dome.
SWEET PEAS TO ENJOY!
Sweet peas are one of the most enjoyable flowers I have discovered on my gardening journey. Follow the steps and you will have such amazing flowers!
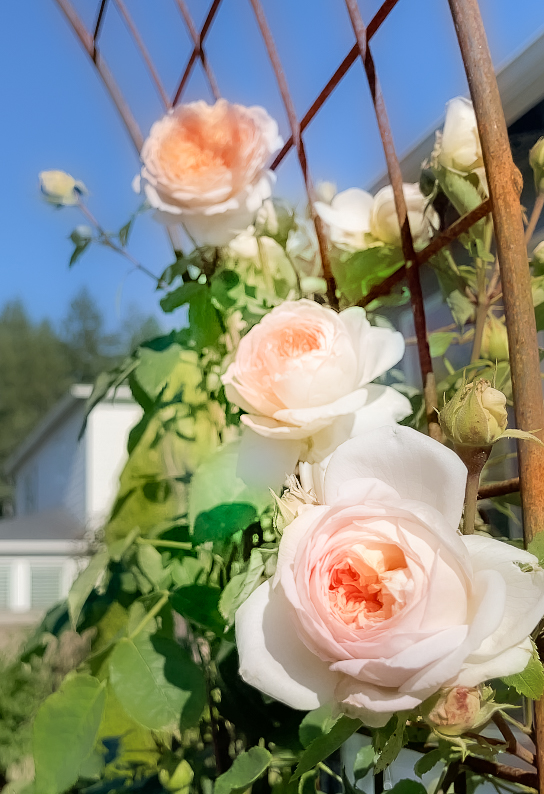
The options for sweet peas are so many and you will be able to find the color and style you love. Single petals or doubles petals romantic ones! Fragrant, bright rich colors or more soft elegant varieties. The perfect touch to any garden.

Do you want to check what I grew in my garden last year? Read ‘DREAM GARDEN SUMMER WALKTHROUGH 2021’.
You are about to discover a whole new world of sweet peas that will forever become the highlight of the garden!
Growing sweet peas from seed is worth the time to get beautiful flowers.
Your Cocoon Awaits You,
Stay Creative!
IF YOU LIKE THE POST, PLEASE PIN BELOW!
DON’T LEAVE YET!
COME VISIT FOR MORE ON GARDENING IDEAS!
How to Design a Cutting Garden?
11 Best Places To Buy Flower Seeds Online
How to Start Seeds Indoors Without a Greenhouse
How to Build a Deer-Proof Raised Bed Garden
THINNING OUT SEEDLINGS FOR STRONG AND HEALTHY PLANTS


Melba, I am new to gardening and any tips are a great help. I am going to check to see if sweet peas are deer resistant and if so I am going to give this a try!
So excited for you! I think deer don’t really like fragrant or toxic flowers, so maybe this may be okay. Some varieties are more fragrant than others, so you may want to search for those.
These are so pretty – loved the video.
Thank you so much Rosemary!
So many great tips Melba! I just checked my zone and last frost date and I think I have to start sweet peas! Thanks!
Thanks Cindy! I am beyond excited that you are going to grow sweet peas. You are going to enjoy them so much. Let me know if you need any help!
I’m a terrible gardener, so I can use all the tips I can get! Such pretty flowers, I’d love to have them in my garden.
We are never terrible gardeners, as long as we try! LOL! We can always start over, that is the amazing part. They are so easy to grow, you can dm me and I can help you if you like!
Such fabulous tips. I love that you provide actual varieties of sweet peas that we can plant – specific varieties make all the difference in the world. Also the tip about keeping soil moist but not wet. Can I tall you how many seeds perished to rot? Thanks for the great tips and ideas.
Thank you so much Anna! I think we all remember those overwatering times! LOL! We get anxious to see something grow that we can’t wait. But gardening is all about patience and enjoying every moment and stage of it.