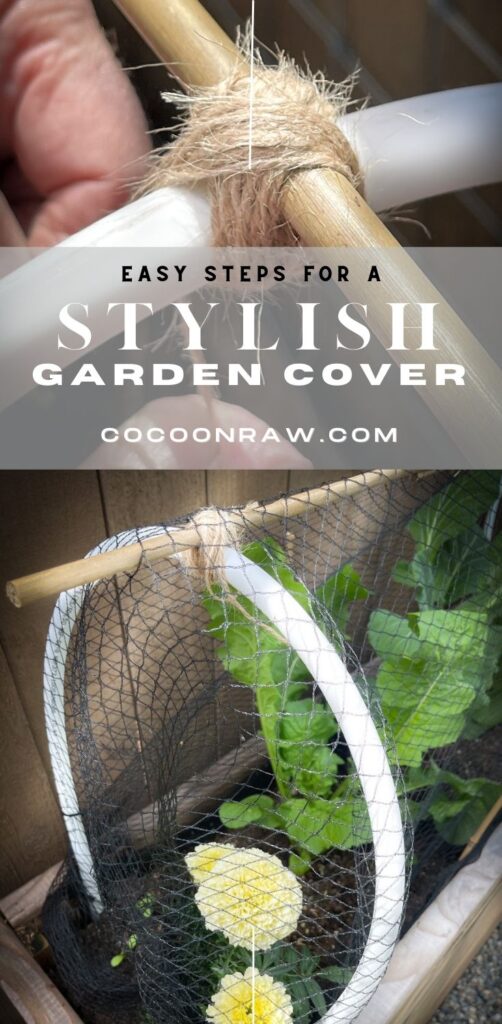
Make This EASY DIY Garden Bed Cover | PROTECT Plants!
This easy garden bed cover has helped me save my kale and other plants but especially, I love the look and how simple it is to make it. Simple things are the best and sometimes the most successful.
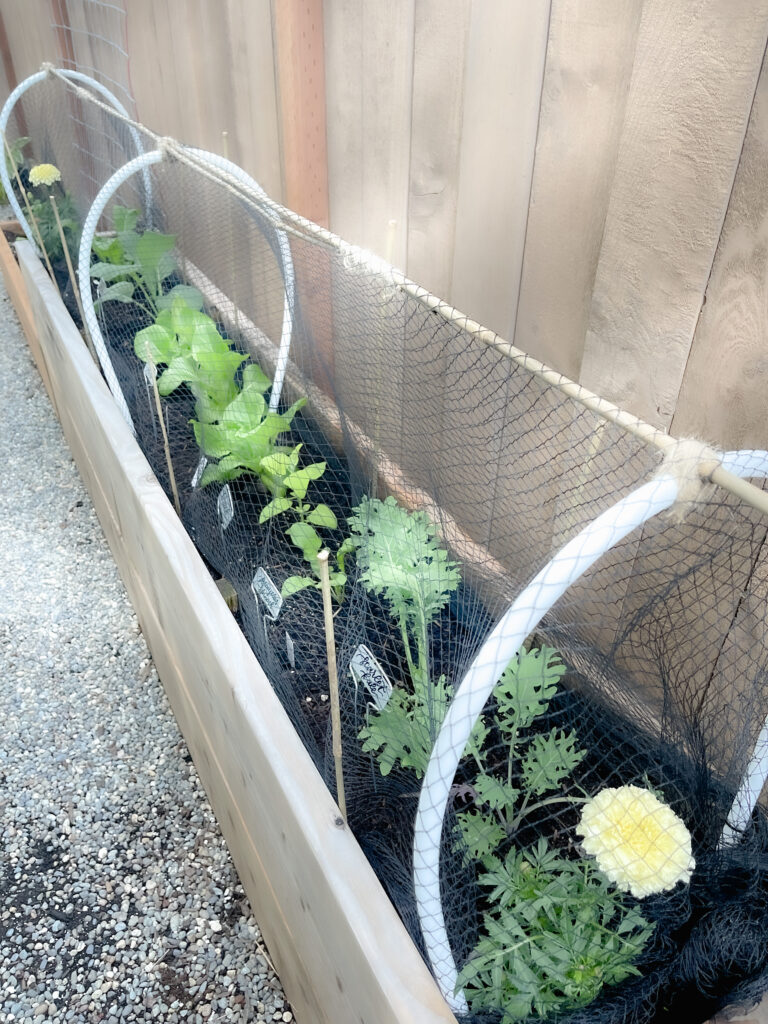
Let’s build a simple, but elegant garden bed cover that it is stylish and require easy to get materials. This cover will prevent pests, such as the cabbage butterfly from wiping it and provide options to transition as it grows.
And this is one of them!
EASY AND STYLISH!
Links in this article are affiliate links and if you click on them, we will receive a small commission at no additional cost to you! Clicking and purchasing help to support this blog and all of the home and garden posts we bring to you! Click here for full disclosure
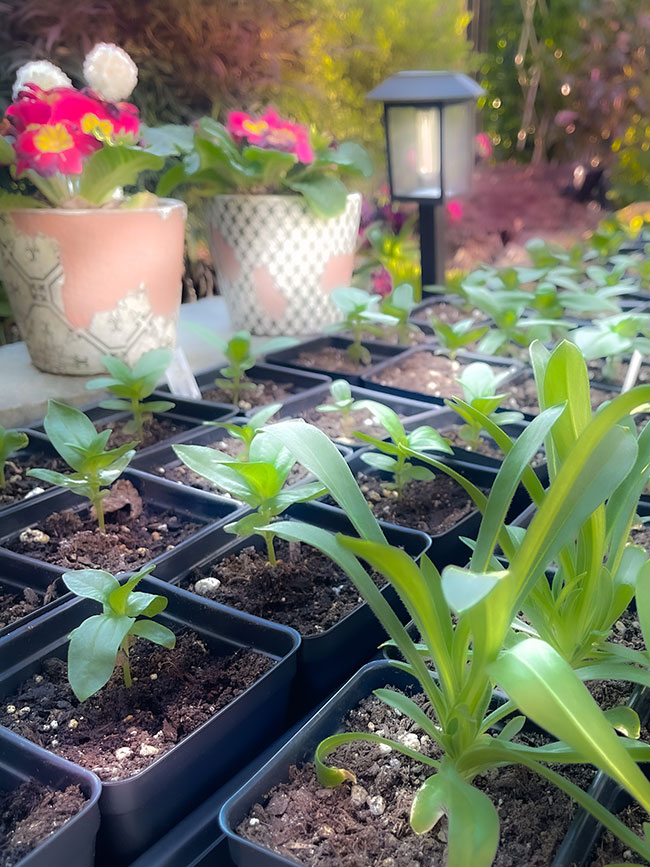
You ever have issues with pest getting to your seedlings?
I could not get my Kale to grow last year because of the cabbage butterlies!
I was determined this year to change this.
Ready for battle cabbage butterfly!
Watch the instructional video below for easy steps:
HOW TO MAKE EASY GARDEN BED COVERS
So much out there on what we can use and a large varieties of different shapes covers. Some of the variety of garden bed cover ideas can include:
- Cold frame
- Row Covers
- Raised Garden Bed Cover
- Durable Powder-Coated Steel Frames
- Vego Garden Modular Cover System
- Mini Hoop Tunnels
- Large Cover for a ground garden bed, such as a floating row cover.
I know, confusing, but understand exactly what you want it for, each reason is different. It comes down to the needs of a gardener, so it is a great idea to understand what you exactly need it for.
You can find many different types of raised bed protective cover for your vegetable garden; from the ones that will help with frost or snow to the ones like mine that will protect your seed babies from those pesky pests, even for a squirrel problem. A garden cover is a great tool to have for seasonal gardening.
Some covers are great for protecting also from deer or rabbits, the ultimate protection, but this one, in particular, is more for other smaller pests. You could make the same but with a metal mesh and fasten it well to the soil for this use.
If you are looking for a cover against the bigger critters then maybe use chicken wire to keep them out of your raised bed. You can also convert it for inclement weather, such as cold weather or even using a shade cloth for the scorching summer months.
It is always good to have something ready for the growing season that you can adjust for the ultimate protection. This will be good for the veggie quality and veggie health.

THINGS TO KNOW WHEN BUILDING YOUR GARDEN BED COVER
- REASON: Use stable materials that will withstand wind or snow weight. I do not want to have to make any pilot holes, I prefer easy installation with easy access.
- MATERIAL: Use durable materials if you are thinking of using this in an ongoing basis. PVC, bamboo, metal are excellent materials.
- PEST: Understand what you are defending your plant from to determine the size and material you will use. For other pest control methods, check out my post ‘Organic Garden Pest Control | MAKE IT EASY THIS SUMMER!; to find all of the details on pest control, pros and cons so that you can make an informed decision.
- PLANTING MATERIAL: Research your plant and how big it will grow. This will impact the height and width of your Garden Bed Cover.
- PLANT SIZE: Determine if this is going to be a temporary use while your seedling grows or for inderterminate time. This fact will also determine the size of your Garden Bed Cover.
- BED SIZE: Determine the length of your bed in order to figure out how many hoops your will need. I like to do every 3′-0″ for hoop for support. You can go to 4′-0″ spacing if the depth is not more than 2′-0″.
- DURABILITY: Use materials that are UV resistant so they will last you through seasons.
- POLLINATION: Be sure that what you place under the Garden Bed Cover does not need pollination unless you plan to hand pollinate.
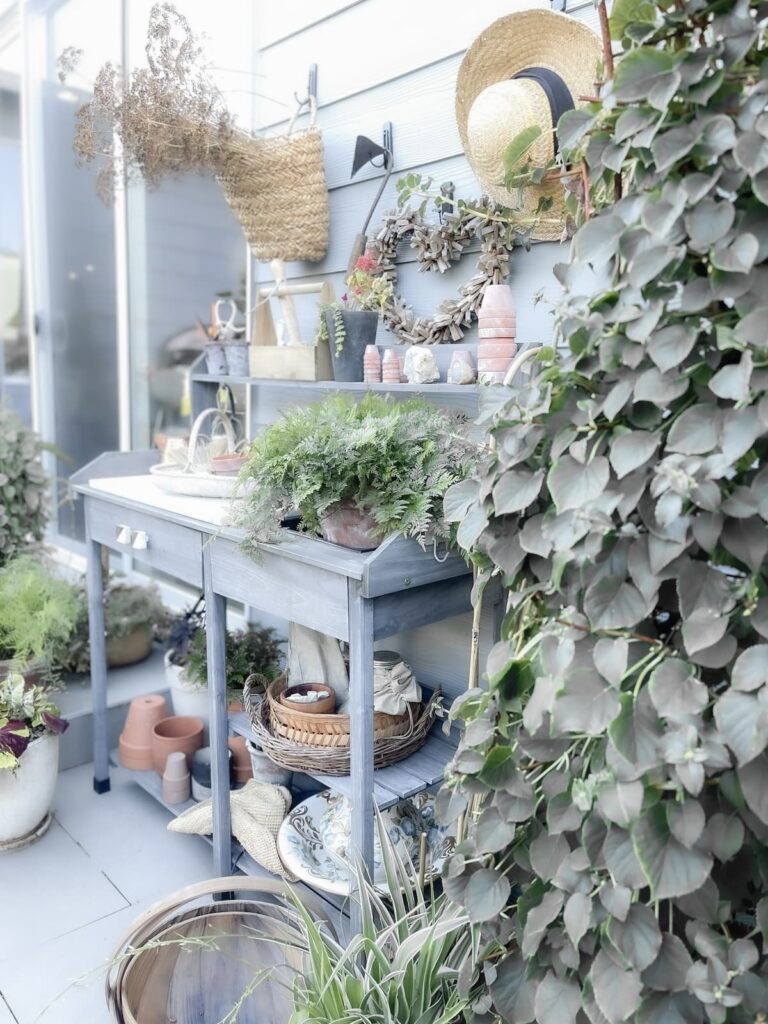
- AESTHETIC: Think of the aesthetic look also! Yes, I have to think of this, it is important to get a garden to flow and the cover to become part of it.
On my DIY Garden Ideas For Small Spaces | 5 GARDENING LESSONS!, I provide you with my top 5 DIY’s that will help you with the garden.
MATERIALS TO MAKE A GARDEN BED COVER
- 3/8″ Roll of Bending PVC Tuber
- Heat Gun
- Garden Netting
- Measuring Tape
- PVC Pipe Cutter
- Twine
- Bamboo Poles
- Industrial Cables UV Resistant
SHOP BELOW FOR MATERIALS TO MAKE THIS BEAUTIFUL GARDEN COVER

Using the right material is always so important. Just as as important as the things you use to garden.
To learn more about my favorite garden tools, see my post ’10+ Favorite Gardening Tools’. READ HERE!
STEPS TO CREATE A DIY GARDEN BED COVER
1. Cutting and Bending Process for PVC Tubing
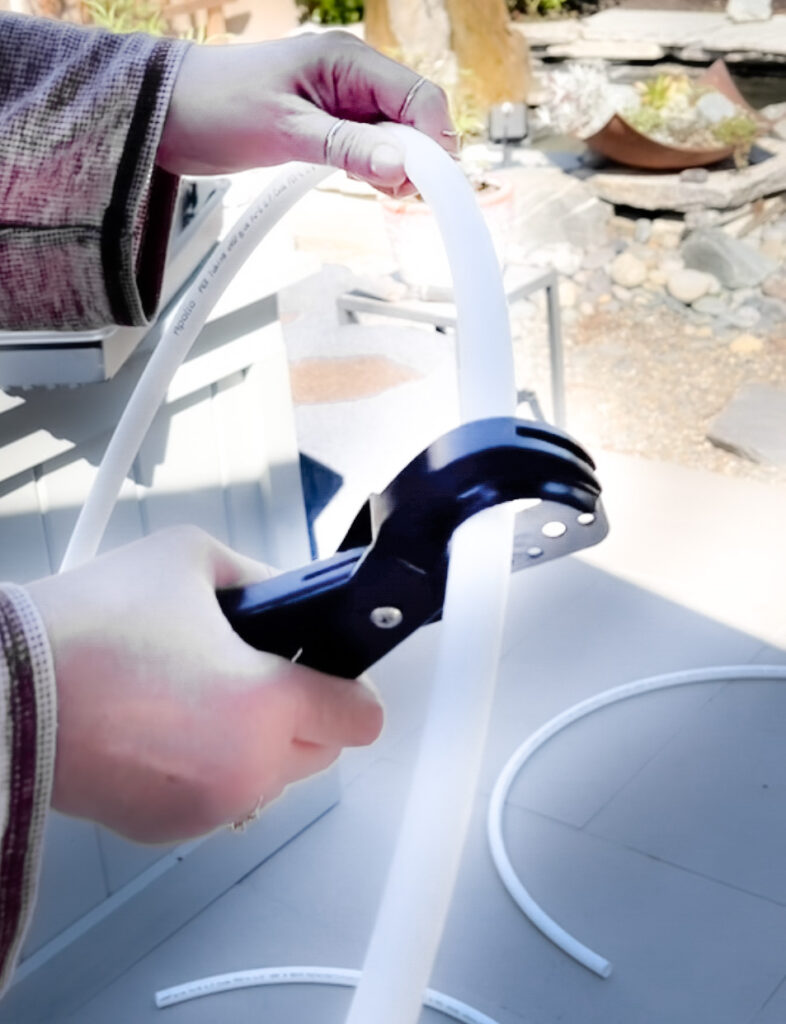
- Measure lengths needed of the tubing to create your hoops. Remember to determine the length by how much the plant will grow if you are keeping it throughout the full season.
- Cut PVC Tubing into the length needed for a perfect fit. (SEE CUT PVC VIDEO BELOW)
- Allow 1″ or 2″ overlap.
CUT PVC
2. Bending Process by Shaping with Heat Gun
With the heat gun heat area that needs to be bend. It is critical you don’t overheat the tubing because it will melt. (SEE HEAT TUBING VIDEO BELOW)
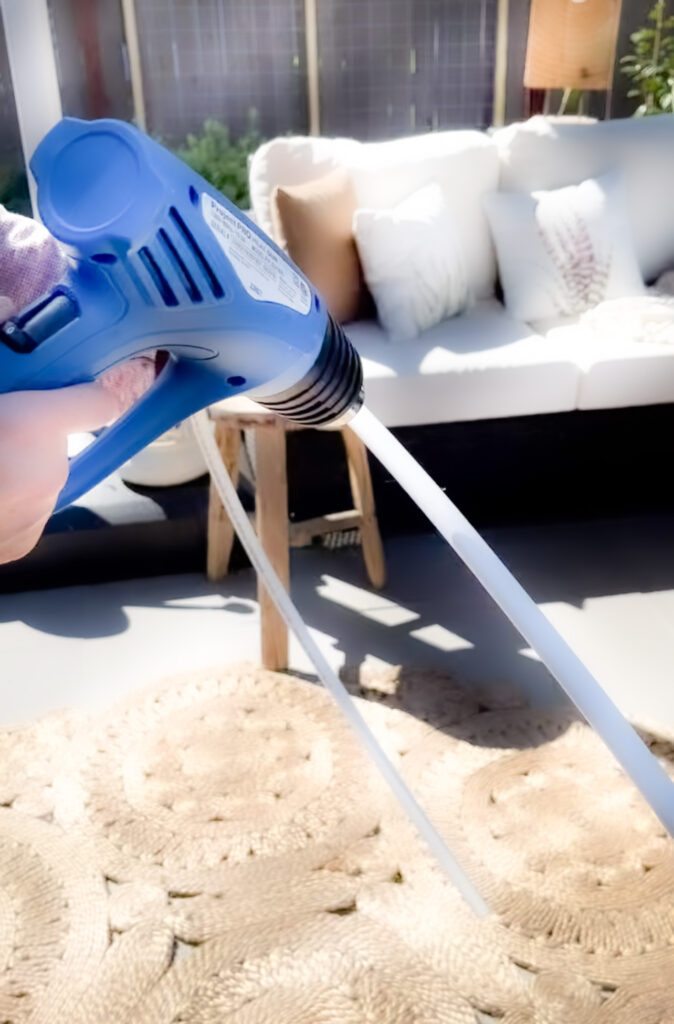
HEAT TUBING
- With your hands begin to shape the hoop. Go through the process slowly, apply heat and shape, go back and forth until you have the hoop shape desired. (SEE SHAPE PVC VIDEO BELOW)
SHAPE PVC
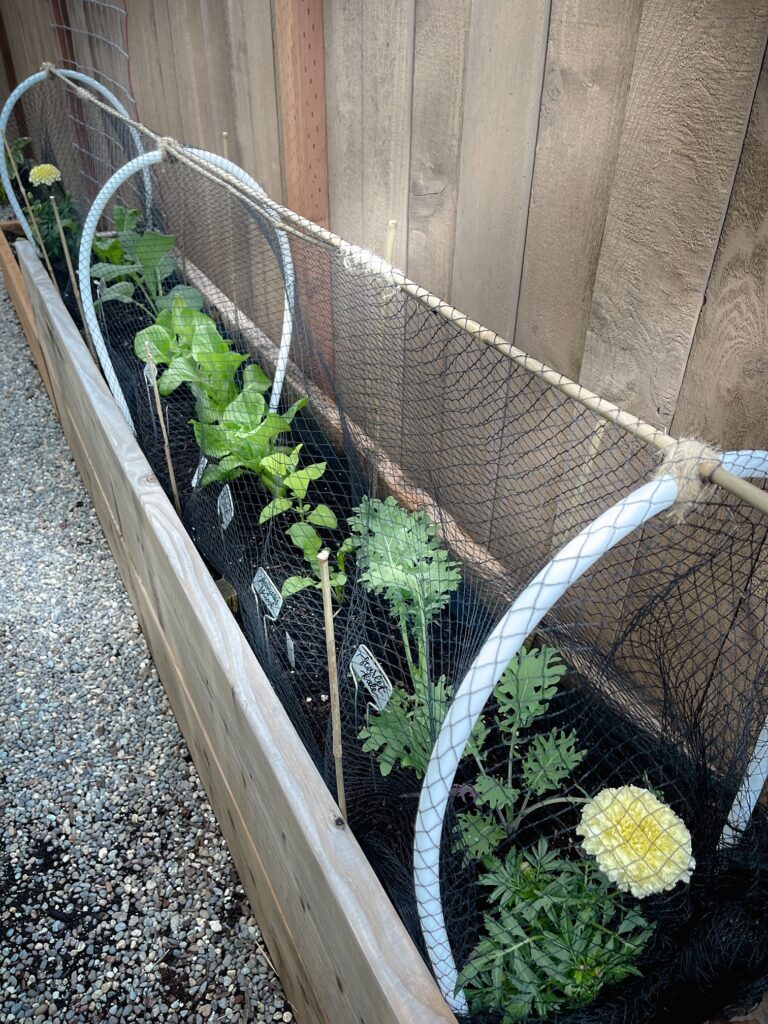
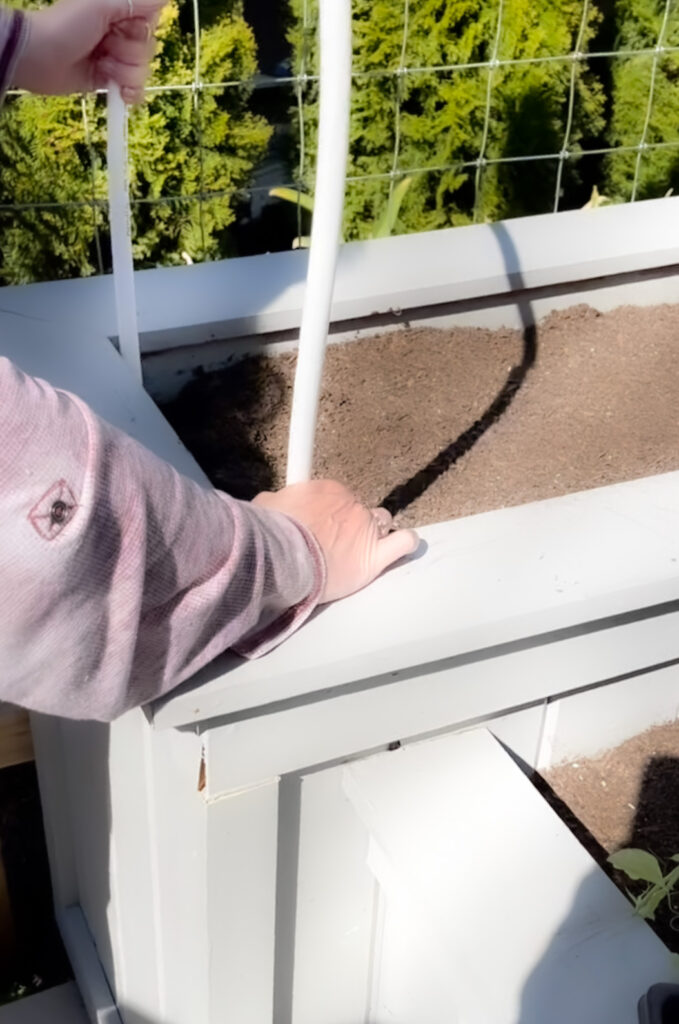
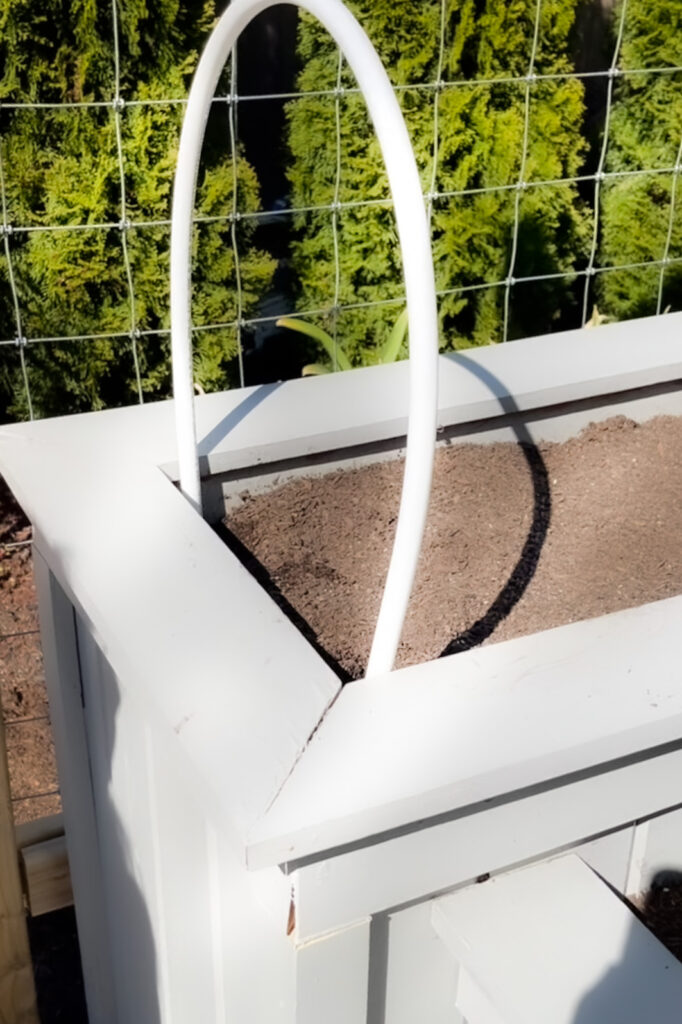
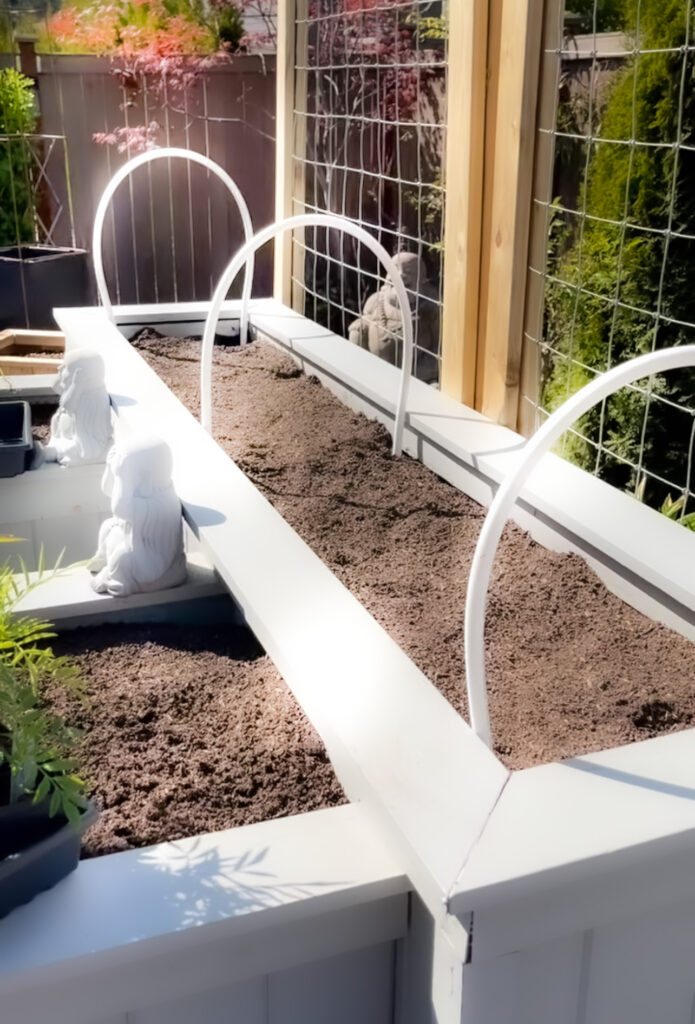
3. Place Hoops on Garden Bed
- Place your hoops where you need them every 3′ to 4′ in spacing depending on the size of your bed.
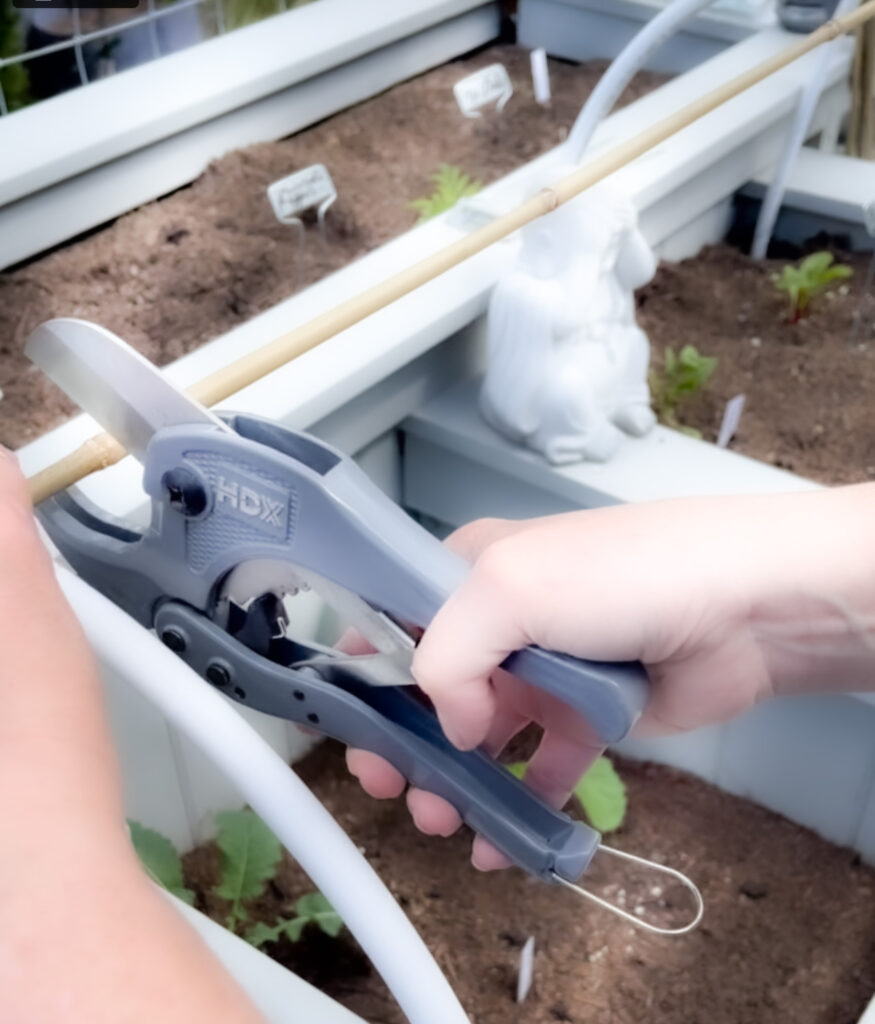
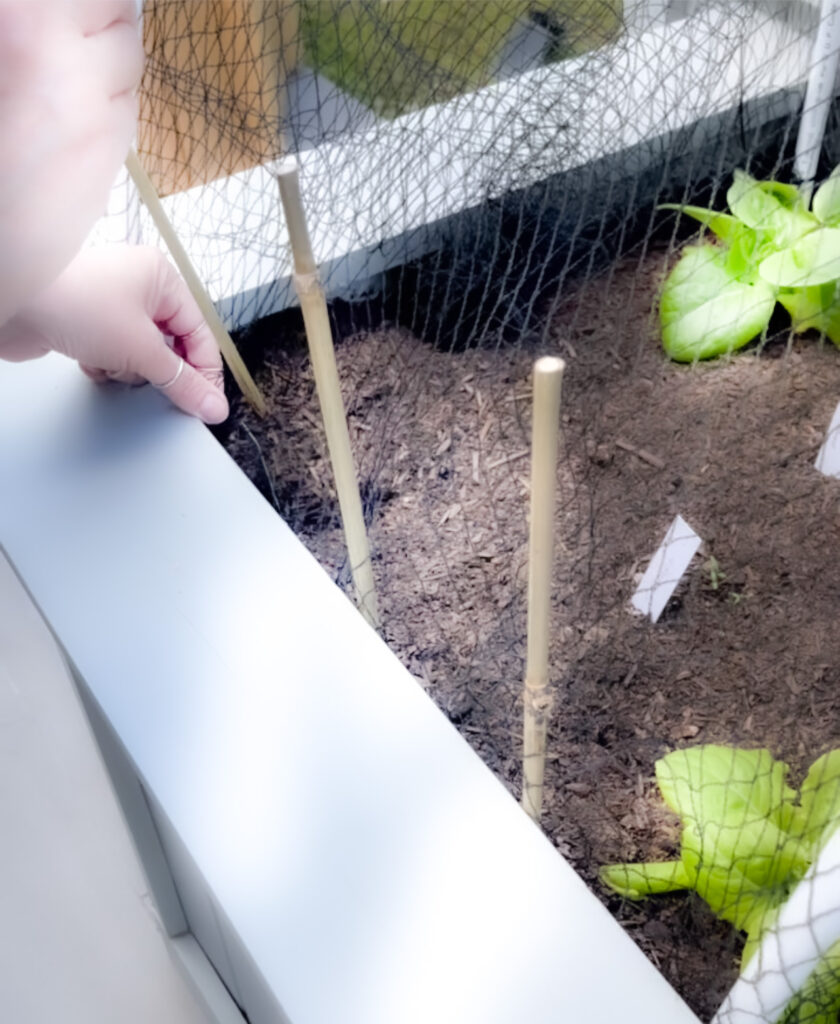
4. Cut Bamboo Sticks
- Cut bamboo sticks to the length needed. When cutting the bamboo, always cut them at the knuckle. This will make it much easier. (SEE CUT BAMBOO VIDEO BELOW)
Materials you use make such a difference on how everything in your garden looks. Bamboo is the greatest material, easy to use and affordable. Planning what you are going to do can really makes a difference.
You want to learn more about planning the garden of your dreams? See my post ‘Transform Your Yard into a Garden’. READ HERE!
5. Applying Bamboo Pole Support
Apply the bamboo from hoop to hoop after cutting.
CUT BAMBOO
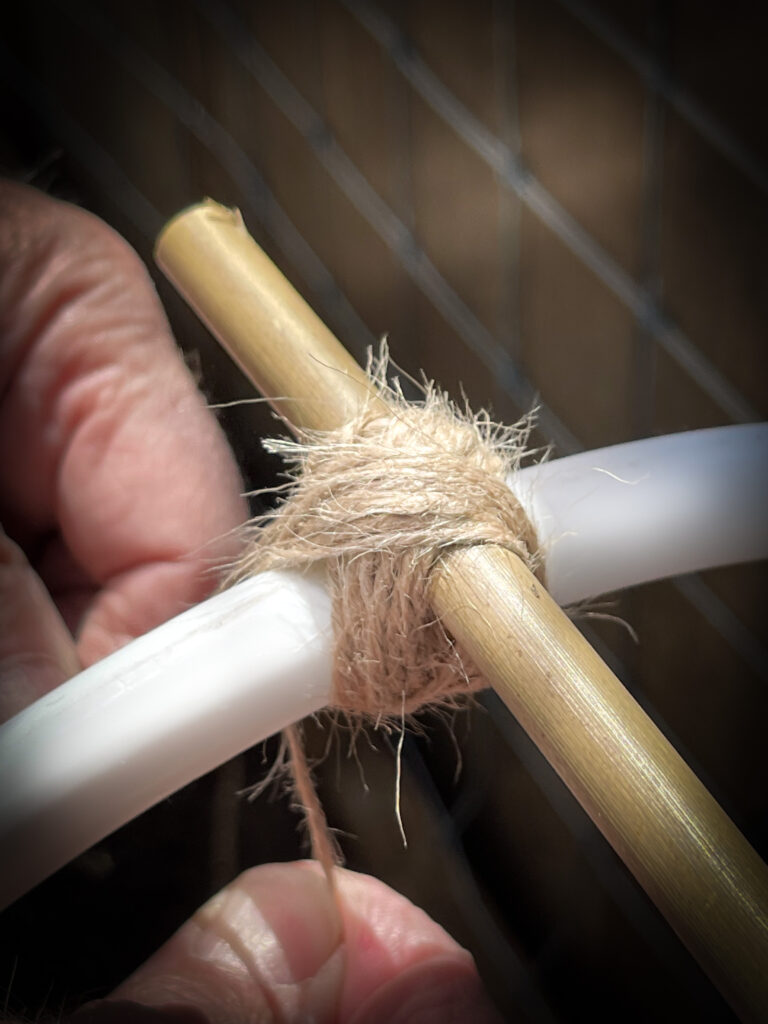
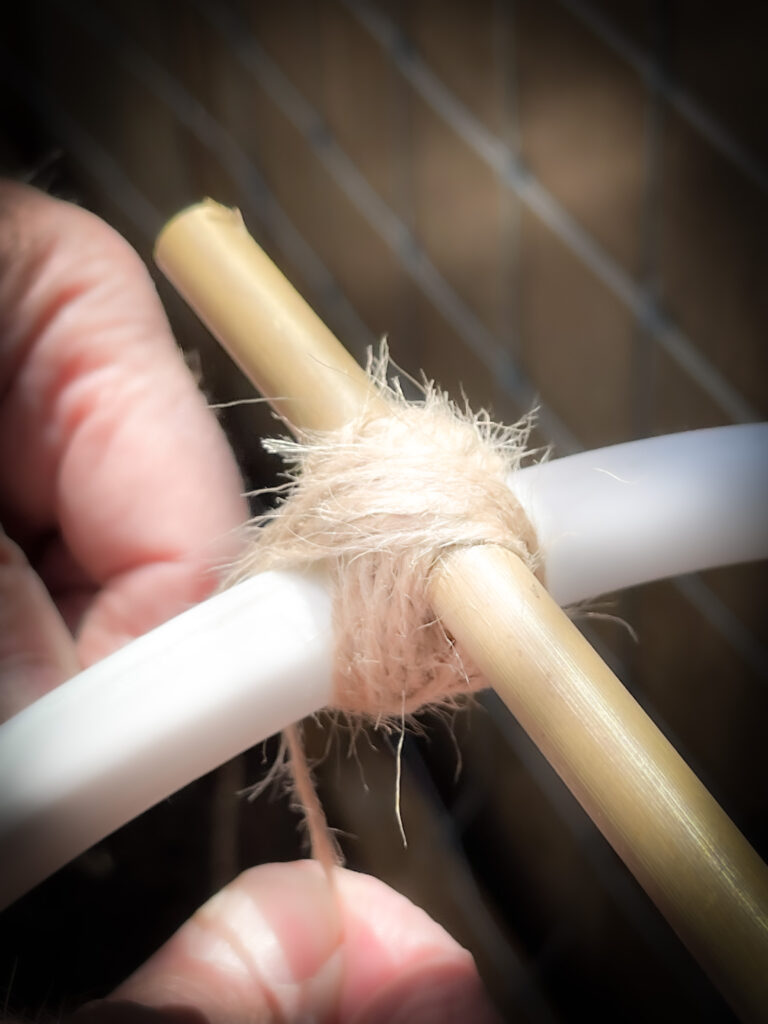
6. Bamboo Intersections
- Hold bamboo in place with twine.
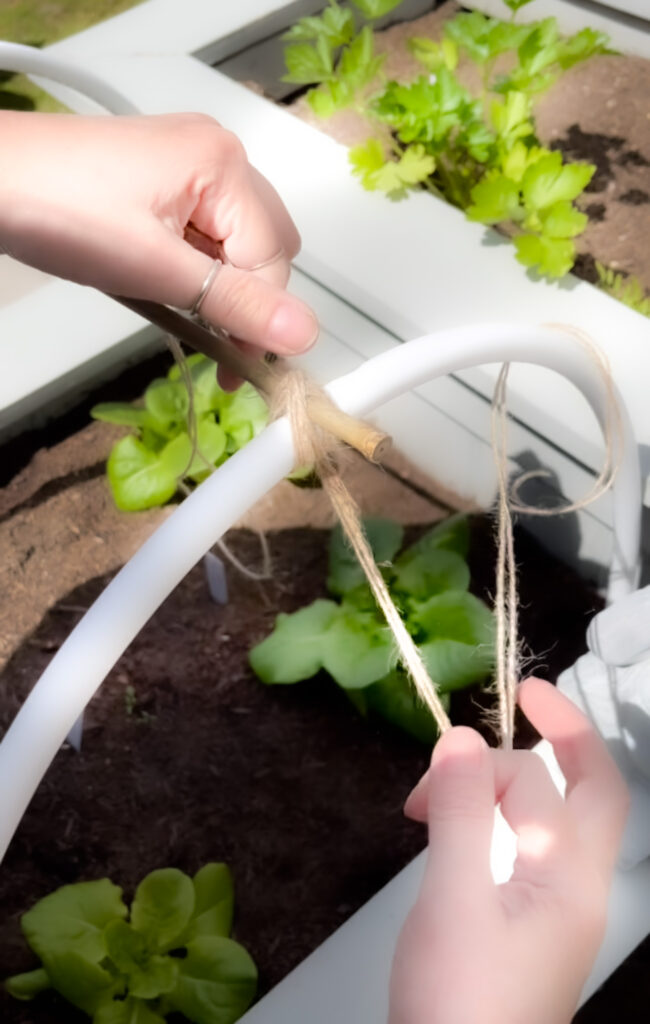
- Add bamboo to the top between each hoop to add stability and hold the garden netting in place.
- To begin applying twine to the intersections. Start by applying a slip knot on the double bamboo area. (SEE APPLY TWINE AT INTERSECTIONS VIDEO BELOW)
APPLY TWINE AT INTERSECTIONS
- At the ends, make sure to allow 1″-2″ to extend from each end in order for the bamboo not to slip off when applying the twine or after.
- At the intersections apply your twine on a criss cross style. (Refer to video for more information)
- Tie off wrap the same way as the double bamboo. (SEE APPLY TWINE AT INTERSECTIONS VIDEO ABOVE)
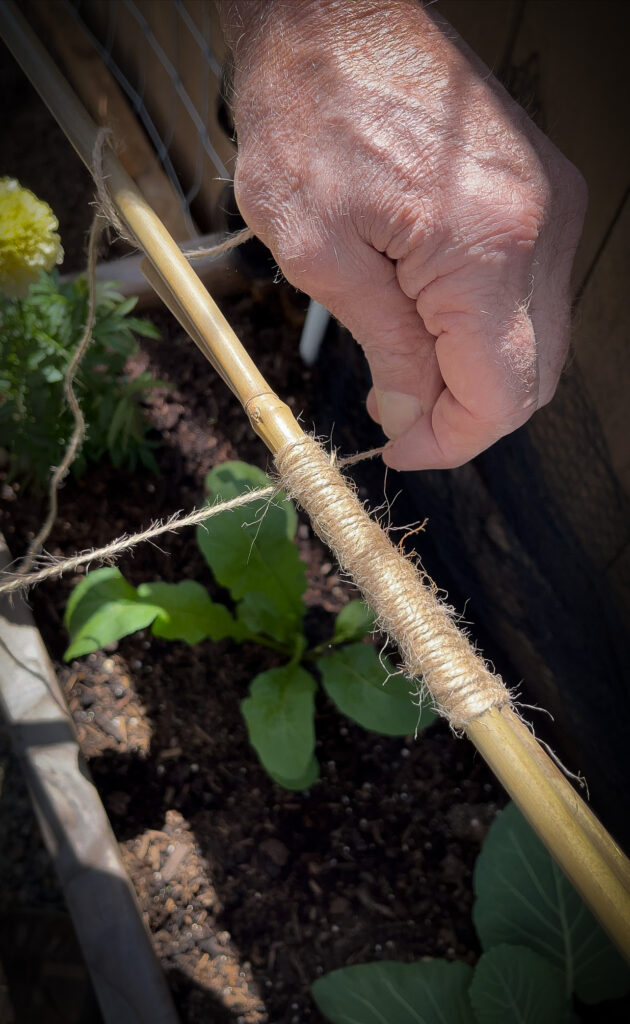
7. Double Bamboo on Overlap
- You can double the bamboo to add length. (SEE DOUBLE BAMBOO TIE OFF VIDEO BELOW)
- Add twine where both bamboo pieces meet.
- To begin applying twine to the intersections, start by applying a slip knot on the double bamboo area. (SEE APPLY TWINE AT INTERSECTIONS VIDEO ABOVE)
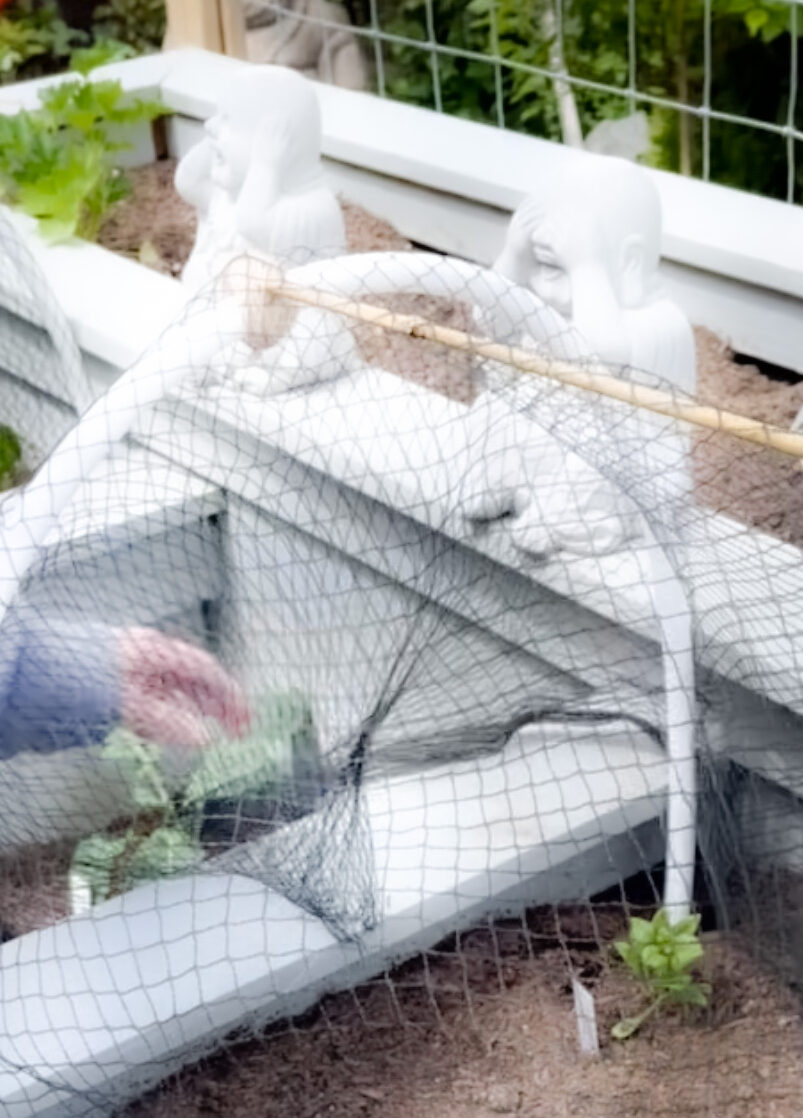
8. Applying Garden Netting to Create the Garden Bed Cover
- As a pvc cover, add the mesh above the hoops and bamboo support.
- Tie the net on the corners with zip tides.
- Gathered netting and use zip tide to hold it together.
- Place it inside the planter after you are done tying it up. Use a couple of zip-ties to gather the whole thing up.
- Drape garden mesh above. (SEE GARDEN NETTING VIDEO BELOW)
- Add industrial cables at the bottom of each tubing.
- Tie each end of the netting on either end.
GARDEN NETTING
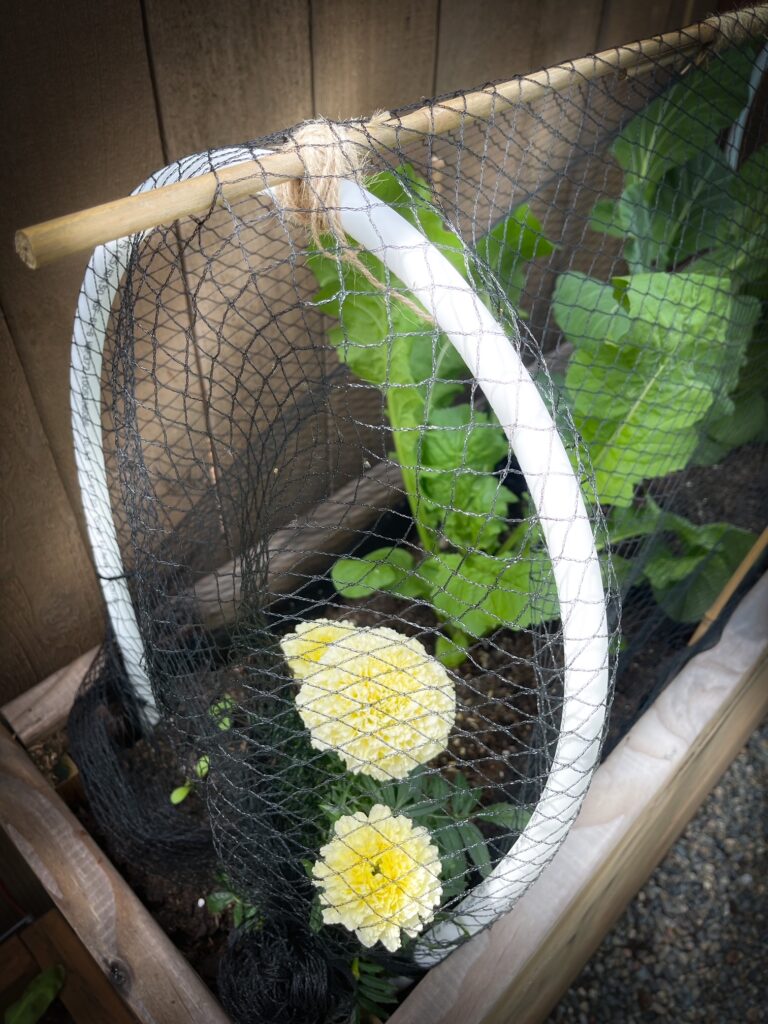
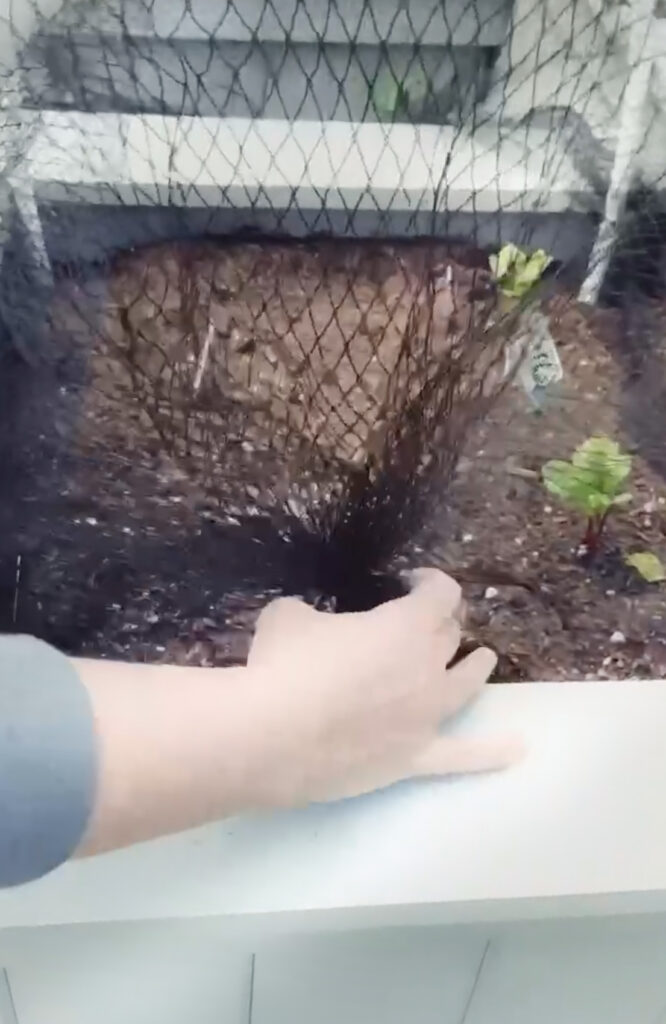
9. Close Front and Back of the Garden Bed Cover
We have to keep it stylish!
So I have a great way to close up the garden mesh on the front and back!
Gather your Bamboo sticks. Here we go!
- To close the front and back off the Garden Bed Cover add bamboo sticks. (SEE FRONT/BACK BAMBOO TIE OFF VIDEO BELOW)
- Cut the bamboo sticks 12″ to 18″.
- Insert bamboo pole through the garden netting, to hold it in place use small industrial cables. This will keep the garden netting in place and it is easy to remove when you need access to harvest. Most importantly, It looks Stylish as the final Garden Bed Cover!
FRONT / BACK BAMBOO TIE OFF
Grow Happily!
From now on, No Fear!
The pests will not win!

This a great way to battle organically and have a successful harvest, the perfect solution for smaller plants. It has worked out amazing for me in a small urban garden and I can’t wait for you to try this hassle-free setup.
I have chased pests with fly swatters throughout the garden and I am happy to announce!
NO MORE!

Learn how to grow save tomato seeds on my blog post, HOW TO SAVE TOMATO SEEDS FOR NEXT YEAR FOR BEGINNERS! READ HERE!
Your Cocoon Awaits You,
Stay Creative!
Don’t leave yet!
Visit for gardening information, herbs and more!
JOIN ME ON SOCIAL MEDIA!
Instagram @cocoonraw
Pinterest https://www.pinterest.com/cocoonraw/
Facebook https://www.facebook.com/cocoonrawdesign
TikTok cocoon_raw
You Tube Cocoon Raw

Love it, I will try make it for my little garden.
Thank you Vero!!!
Very interesting and useful, thank you.
Extremely useful! Salad galore!
I am in LOVE with these covers! You may have just revived the idea of raised beds with deer in my yard! I can’t wait to give them a try. And thank you for sharing my garden!
That is wonderful! I don’t have an issue in my little urban garden with deers, but that is a great idea! I can’t wait to hear how it works out.
These covers are functional and pretty at the same time. Great job!
Thank you Cindy! They have work amazingly for me. So happy!
Oh my gosh – I need this so much. I’m still doing battle with my cat about where to do her daily business – that it’s not in my flower bed. Thank you so much for sharing this.
I never thought about that issue also! Thank you for sharing that!!! Good Luck! Hope it works out well.
This is a great idea! I’ve been wondering how I can make something to cover my seeds that will stop the birds from eating them all – now I know what to do!
Thank you! That is fantastic! It does help with that a lot!
What a great idea! I have rabbits that invade my garden. Hmmm, I wonder if it would keep out my dogs? 🙂
Great blog post.
Thank you! I would think it would help with the dogs if you anchor it down with the bamboo sticks.
Such a clever idea!
Thank you Juliet! A great solution for us, we now have so much to eat!
This is such a great idea! The birds and rabbits get into gardens here. I’ve never seen a cover that looked pretty, you did an amazing job!
Thank you so very much Danielle, I hope it works for you well. You need to let me know! My garden is so small that I am always wanting pretty and effective solutions. I can see every corner, so I might as well make it enjoyable!
I have a terrible deer problem and this is the solution I need. Thank you!
I have no deers here, but I know that I will when we get the property. This will be used a lot!
Good idea. Since we put up a fence and our small dogs go out regularly we don’t have deer any more and fewer small animals. Deer can be a big problem in our area.
That is so good! I know when we get the property, we will need to really think about so many things. A fence is one of them.
These are functional and nice looking too. I am glad you aren’t running around your yard with a swatter anymore ha ha! Thanks for sharing.
Thank you Marie, but never says never! LOL!!!! That swatter will remain in my garden in case!
Melba what a great idea and tutorial! So very clever! Just love all of your gardening ideas.
Thank you so much Tammy! It worked really well, my kale has grown nicely his year. Yes!!!
Your covers looks so aesthetically pleasing! I’d never thought about not covering plants that need pollination – great info!
Thanks Stacey! The covers helped us so much! Last year was terrible, but finally found a way!